
Hello everyone.
I am so excited to share my grungy layout with you all today,
this time a tutorial detailing how I altered my
chipboards as well as putting everything together.

The 2Crafty chipboards which I used on this layout include
~ Fine word set 3
~ Light bulb word set 1
~ 6" zipper frames
~ Corner steampunk set 6


I prepared the corner pieces and frames by
first painting them with brown paint.

Once the paint was dry, I rubbed sticky glue here and there
onto the corner pieces and then applied blue and gold
metallic flakes onto the glue, leaving them to dry
before brushing the excess off with a brush.
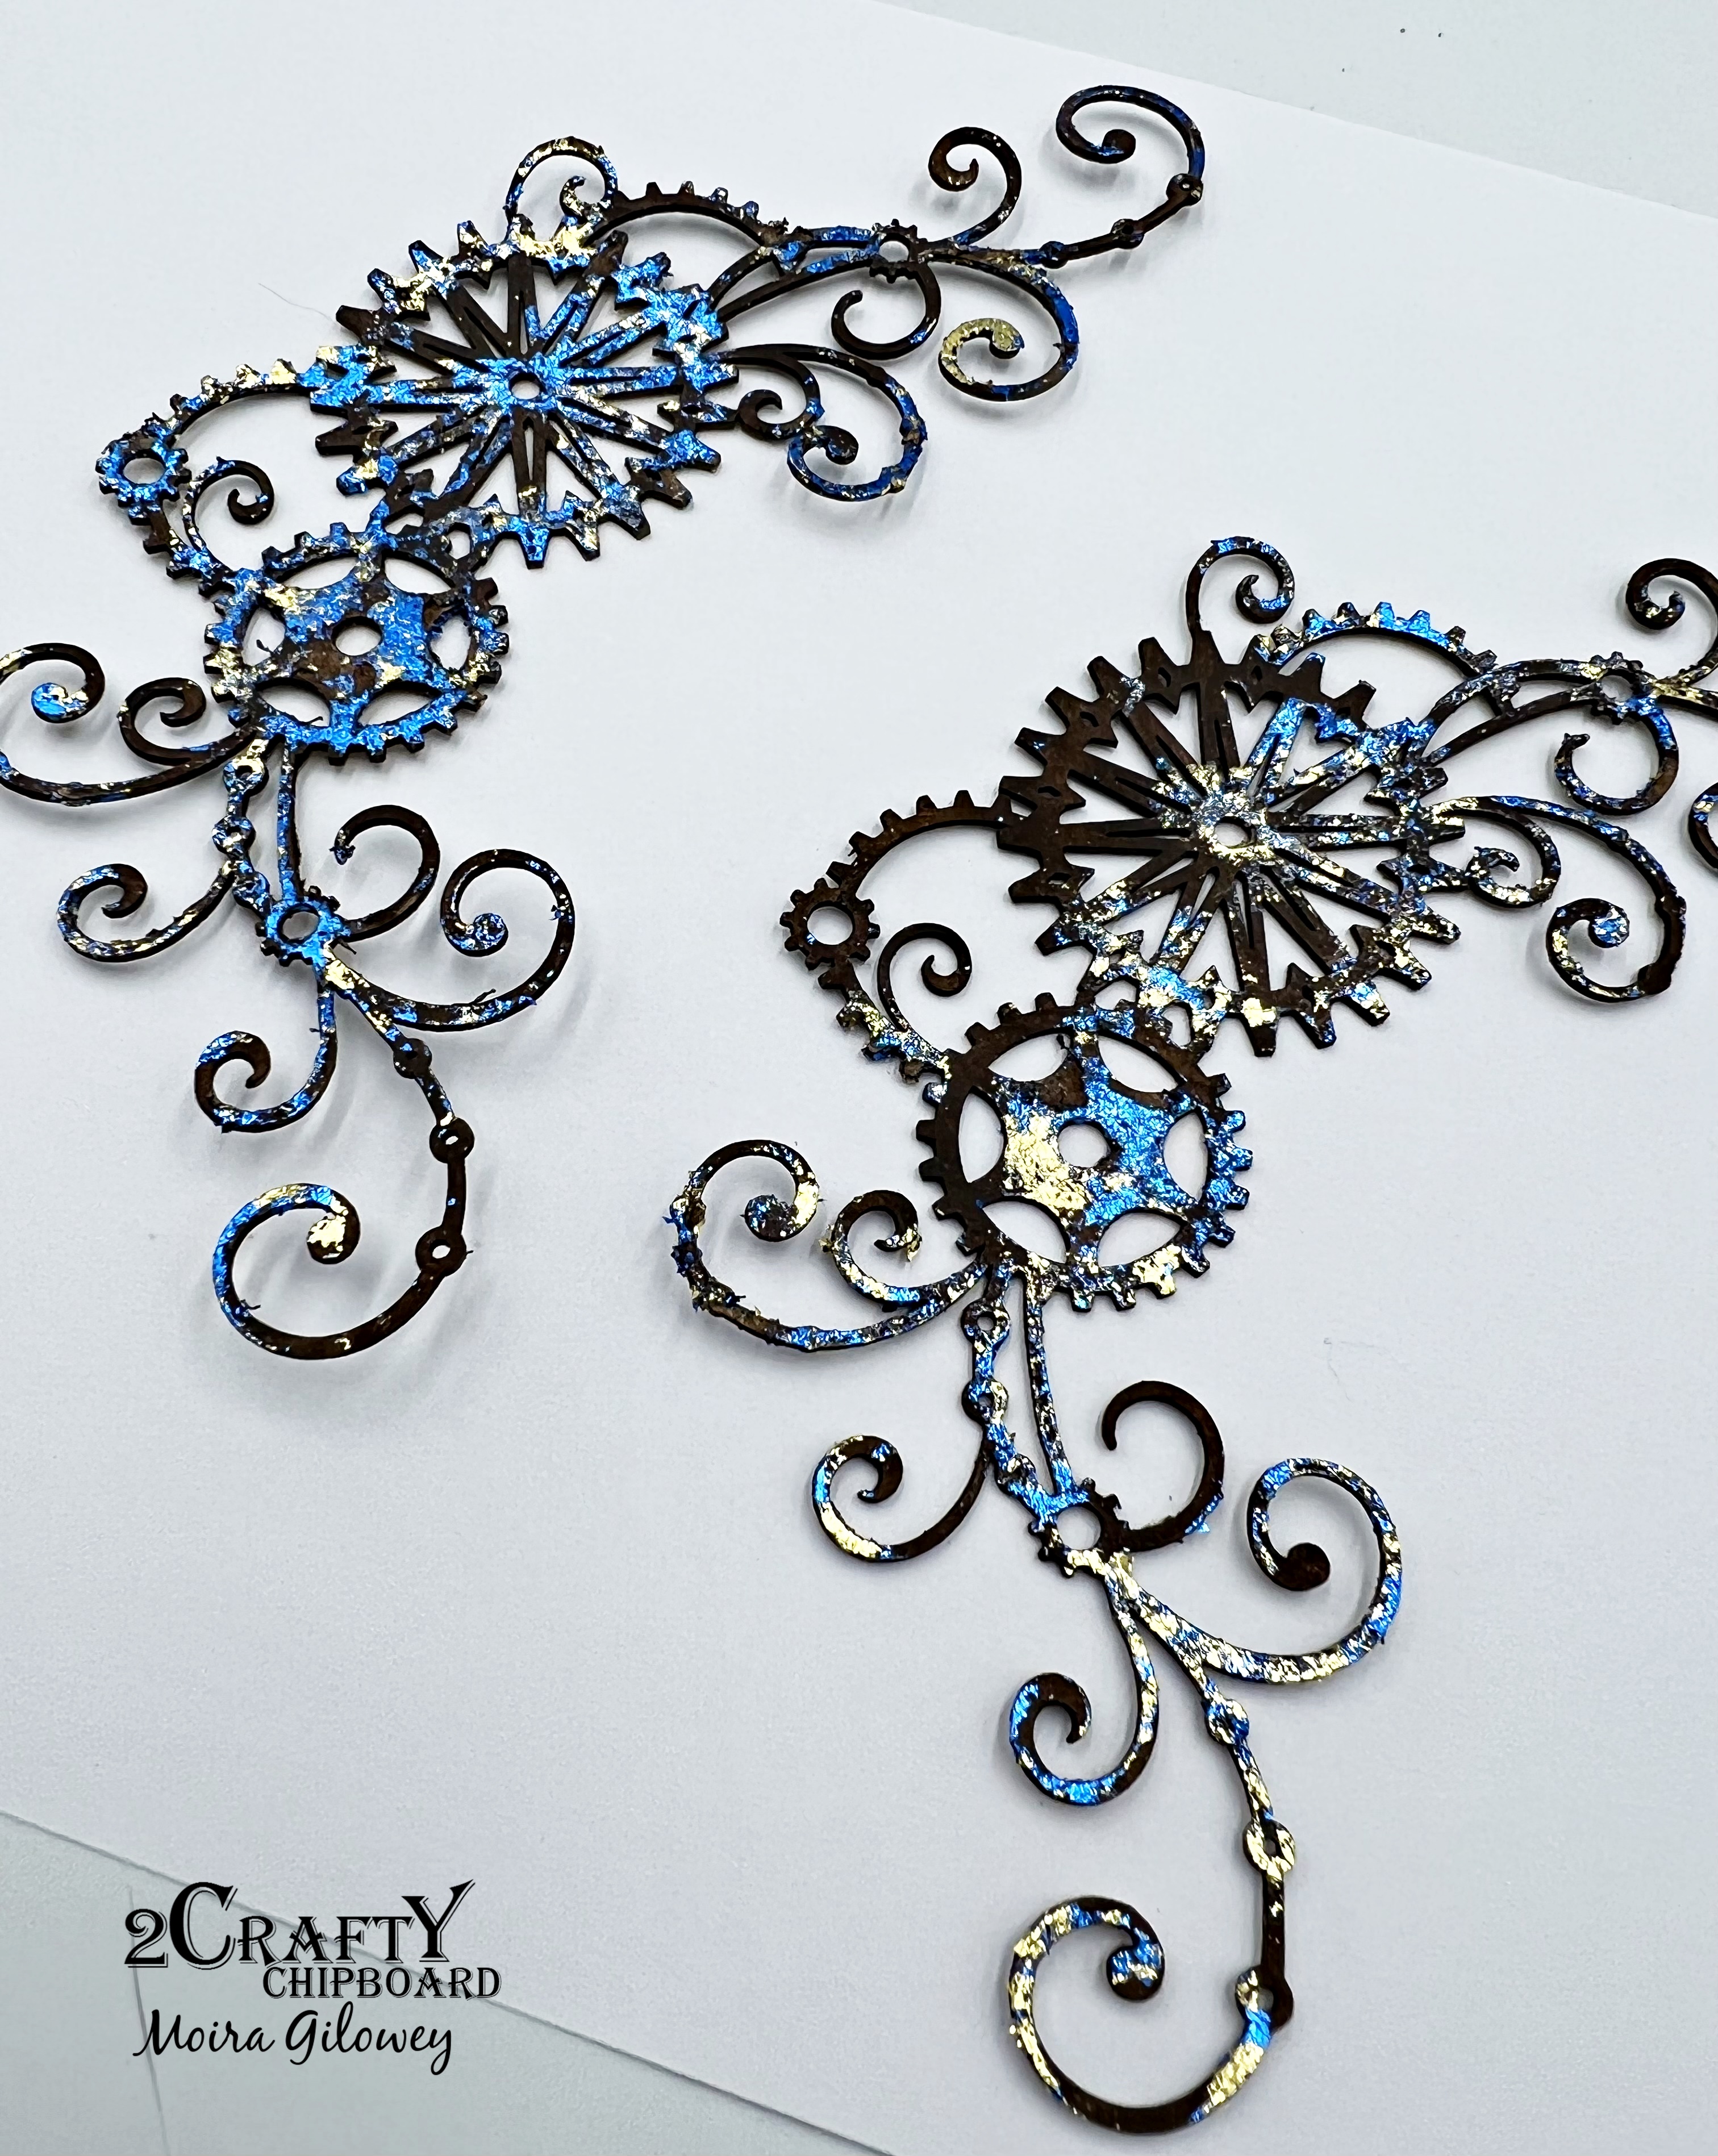
I lightly rubbed the frames with gold wax.

The word bulb and title were painted with gold paint.


I then started to assemble my main composition by
layering the chipboard pieces with paper and ephemera.

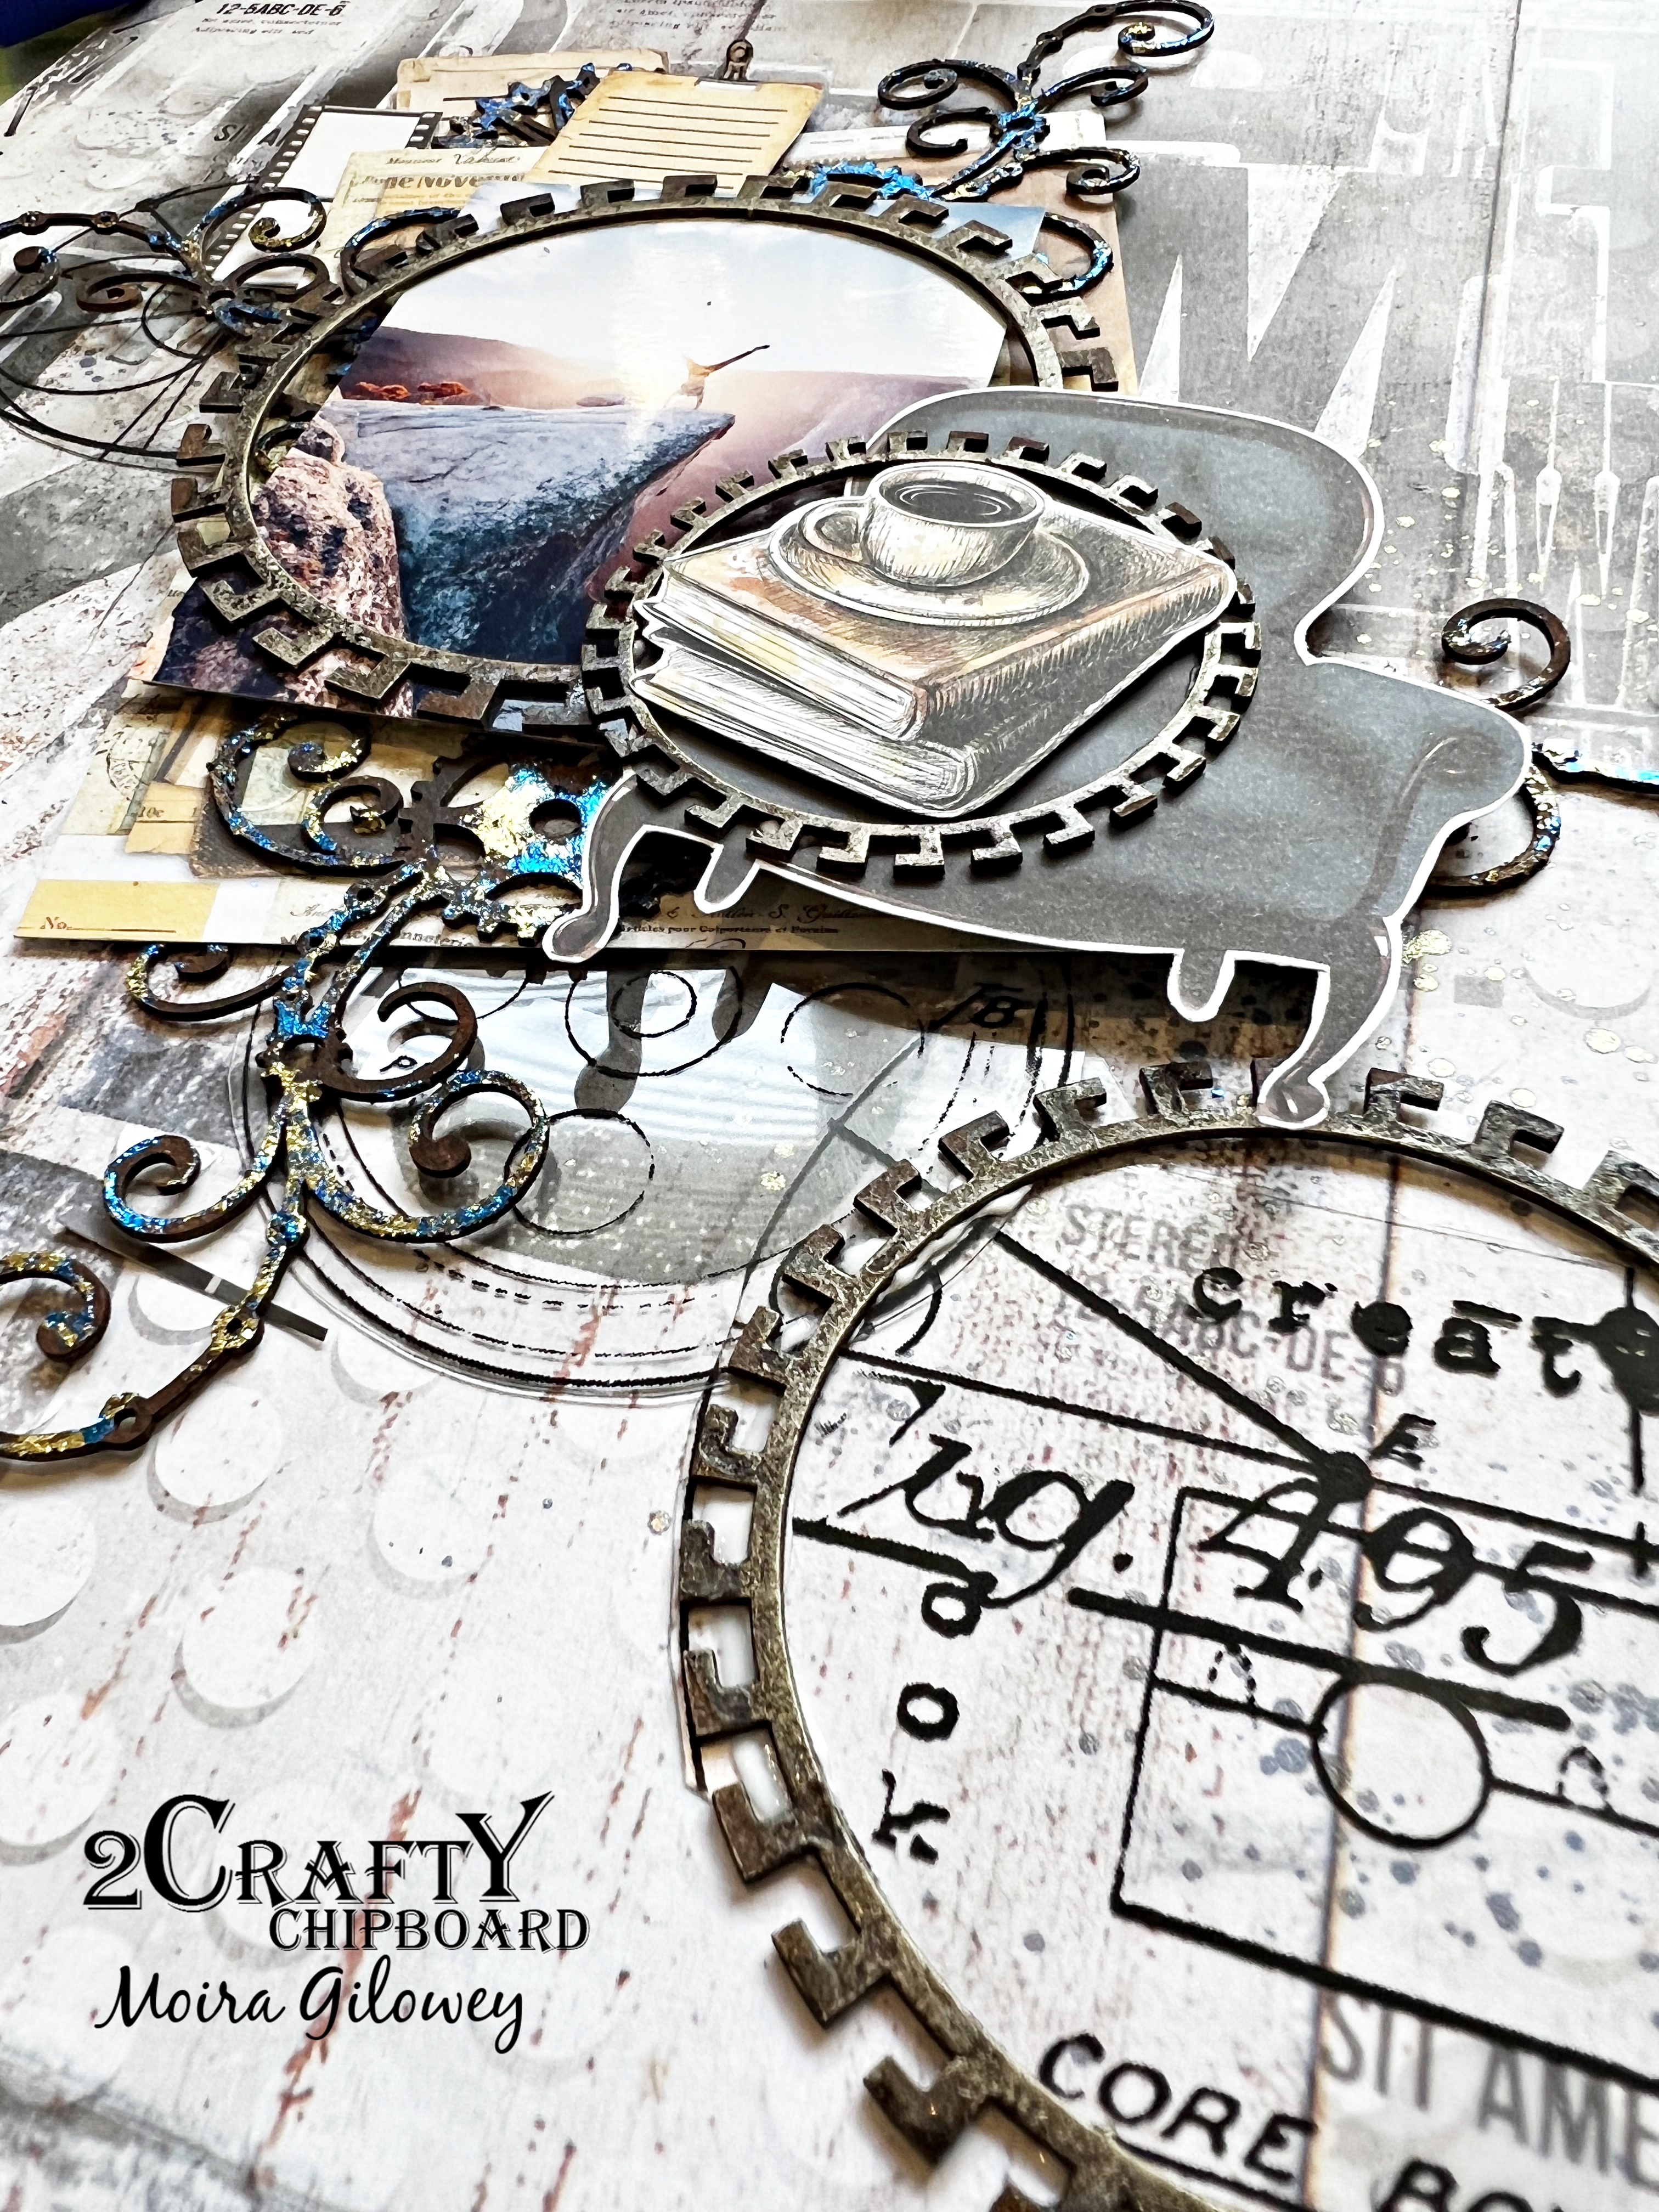
I added some stamping around my layout.


Once I had added everything to my layout, I mixed
gold paint with gel medium and stenciled onto my layout,
also dragging the product with my spatula around my
main composition as well as along the edges of my layout.
Once the stenciling was dry, I added Copper glitter ink
on top of some of the gold product as well as
onto the bulb word and title.


I hope that this layout tutorial has inspired you
to create one of your own.
Until next time!
