Hi there!
Tania stopping in today to share the first of my DT projects for this month with a
Beyond the Page Wall Art Project.
Beyond the Page Wall Art Project.
I have a short step x step photo tutorial for this project.
I love how this Wall Art turned out and the chipboard just pops!
I love how this Wall Art turned out and the chipboard just pops!
2 Crafty Products Used:
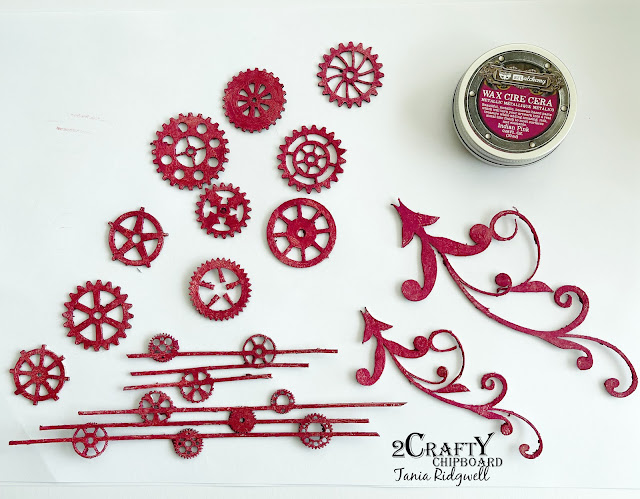
*Steampunk Strips
*Steampunk Gears Medium
*6x4 Phase Sticks Set 5
*Flourish Adornment Set 5
To create my Wall Art I first gave all the Chipboard & Wall Art a couple of coats of Heavy White Gesso. I then used Prima Wax Indian Pink on the Steampunk Gears, Strips and Flourish Adornments chipboard pieces.
I covered the panels of the Wall Art with Studio 73 Papers. I then decorated the Wall Art with lots of fussy cut elements. I temporarily positioning the photo until I was happy with the placement
and arrangement of the chipboard pieces on the Wall Art. I then adhered the photo.
and arrangement of the chipboard pieces on the Wall Art. I then adhered the photo.
I added fussy cut elements around the photo. For the title I used a piece of chipboard from the 6x4 Phase Sticks Set 5, which I coloured using Distress Spray Stain - Brushed Pewter. I added the title to the bottom right of the photo to finish the Wall Art.
Thats' all from me today, I hope I have inspired you all a little with my altered Wall Art project.
Until next time thanks so much for stopping by.
Until next time thanks so much for stopping by.
Tania xx


