Hello Friends,
Welcome to 2crafty chipboards blog.
Today I'm sharing my last project for this term with this lovely team.
I thoroughly enjoyed creating with beautiful chipboards from 2Crafty.
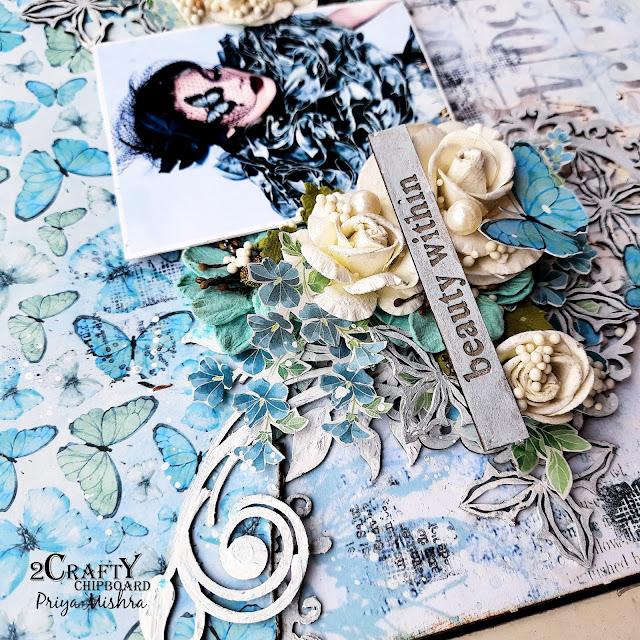
For today, I created a layout…
2Crafty products Used:
I created the background sticking two papers in layers. Then I randomly stamped on it.
Once I was happy with the outcome I created the layers with 2Crafty Chipboards.
I colored all chipboards with white chalk paint and rubbed a little chalk paint on the sentiment tile.
First I stuck the flourish chipboard followed by the frames.
Once I was happy with the outcome I created the layers with 2Crafty Chipboards.
I colored all chipboards with white chalk paint and rubbed a little chalk paint on the sentiment tile.
First I stuck the flourish chipboard followed by the frames.
After I stuck my photo and the flowers, I added few fussy cut elements and other
chipboards in between. Added some pearls and art stones over and around flowers.
Finally added the sentiment tile on the flower.
chipboards in between. Added some pearls and art stones over and around flowers.
Finally added the sentiment tile on the flower.
Hope you like my project. Thank you for visiting.
Do follow me on Instagram for more of my creations


