

Today I have a Step by Step Tutorial for you to follow along with
and create your own version of the above layout. I hope you
take away a few new techniques today to use on your favourite
2Crafty chipboard pieces. Choose your own papers and play
along with me.
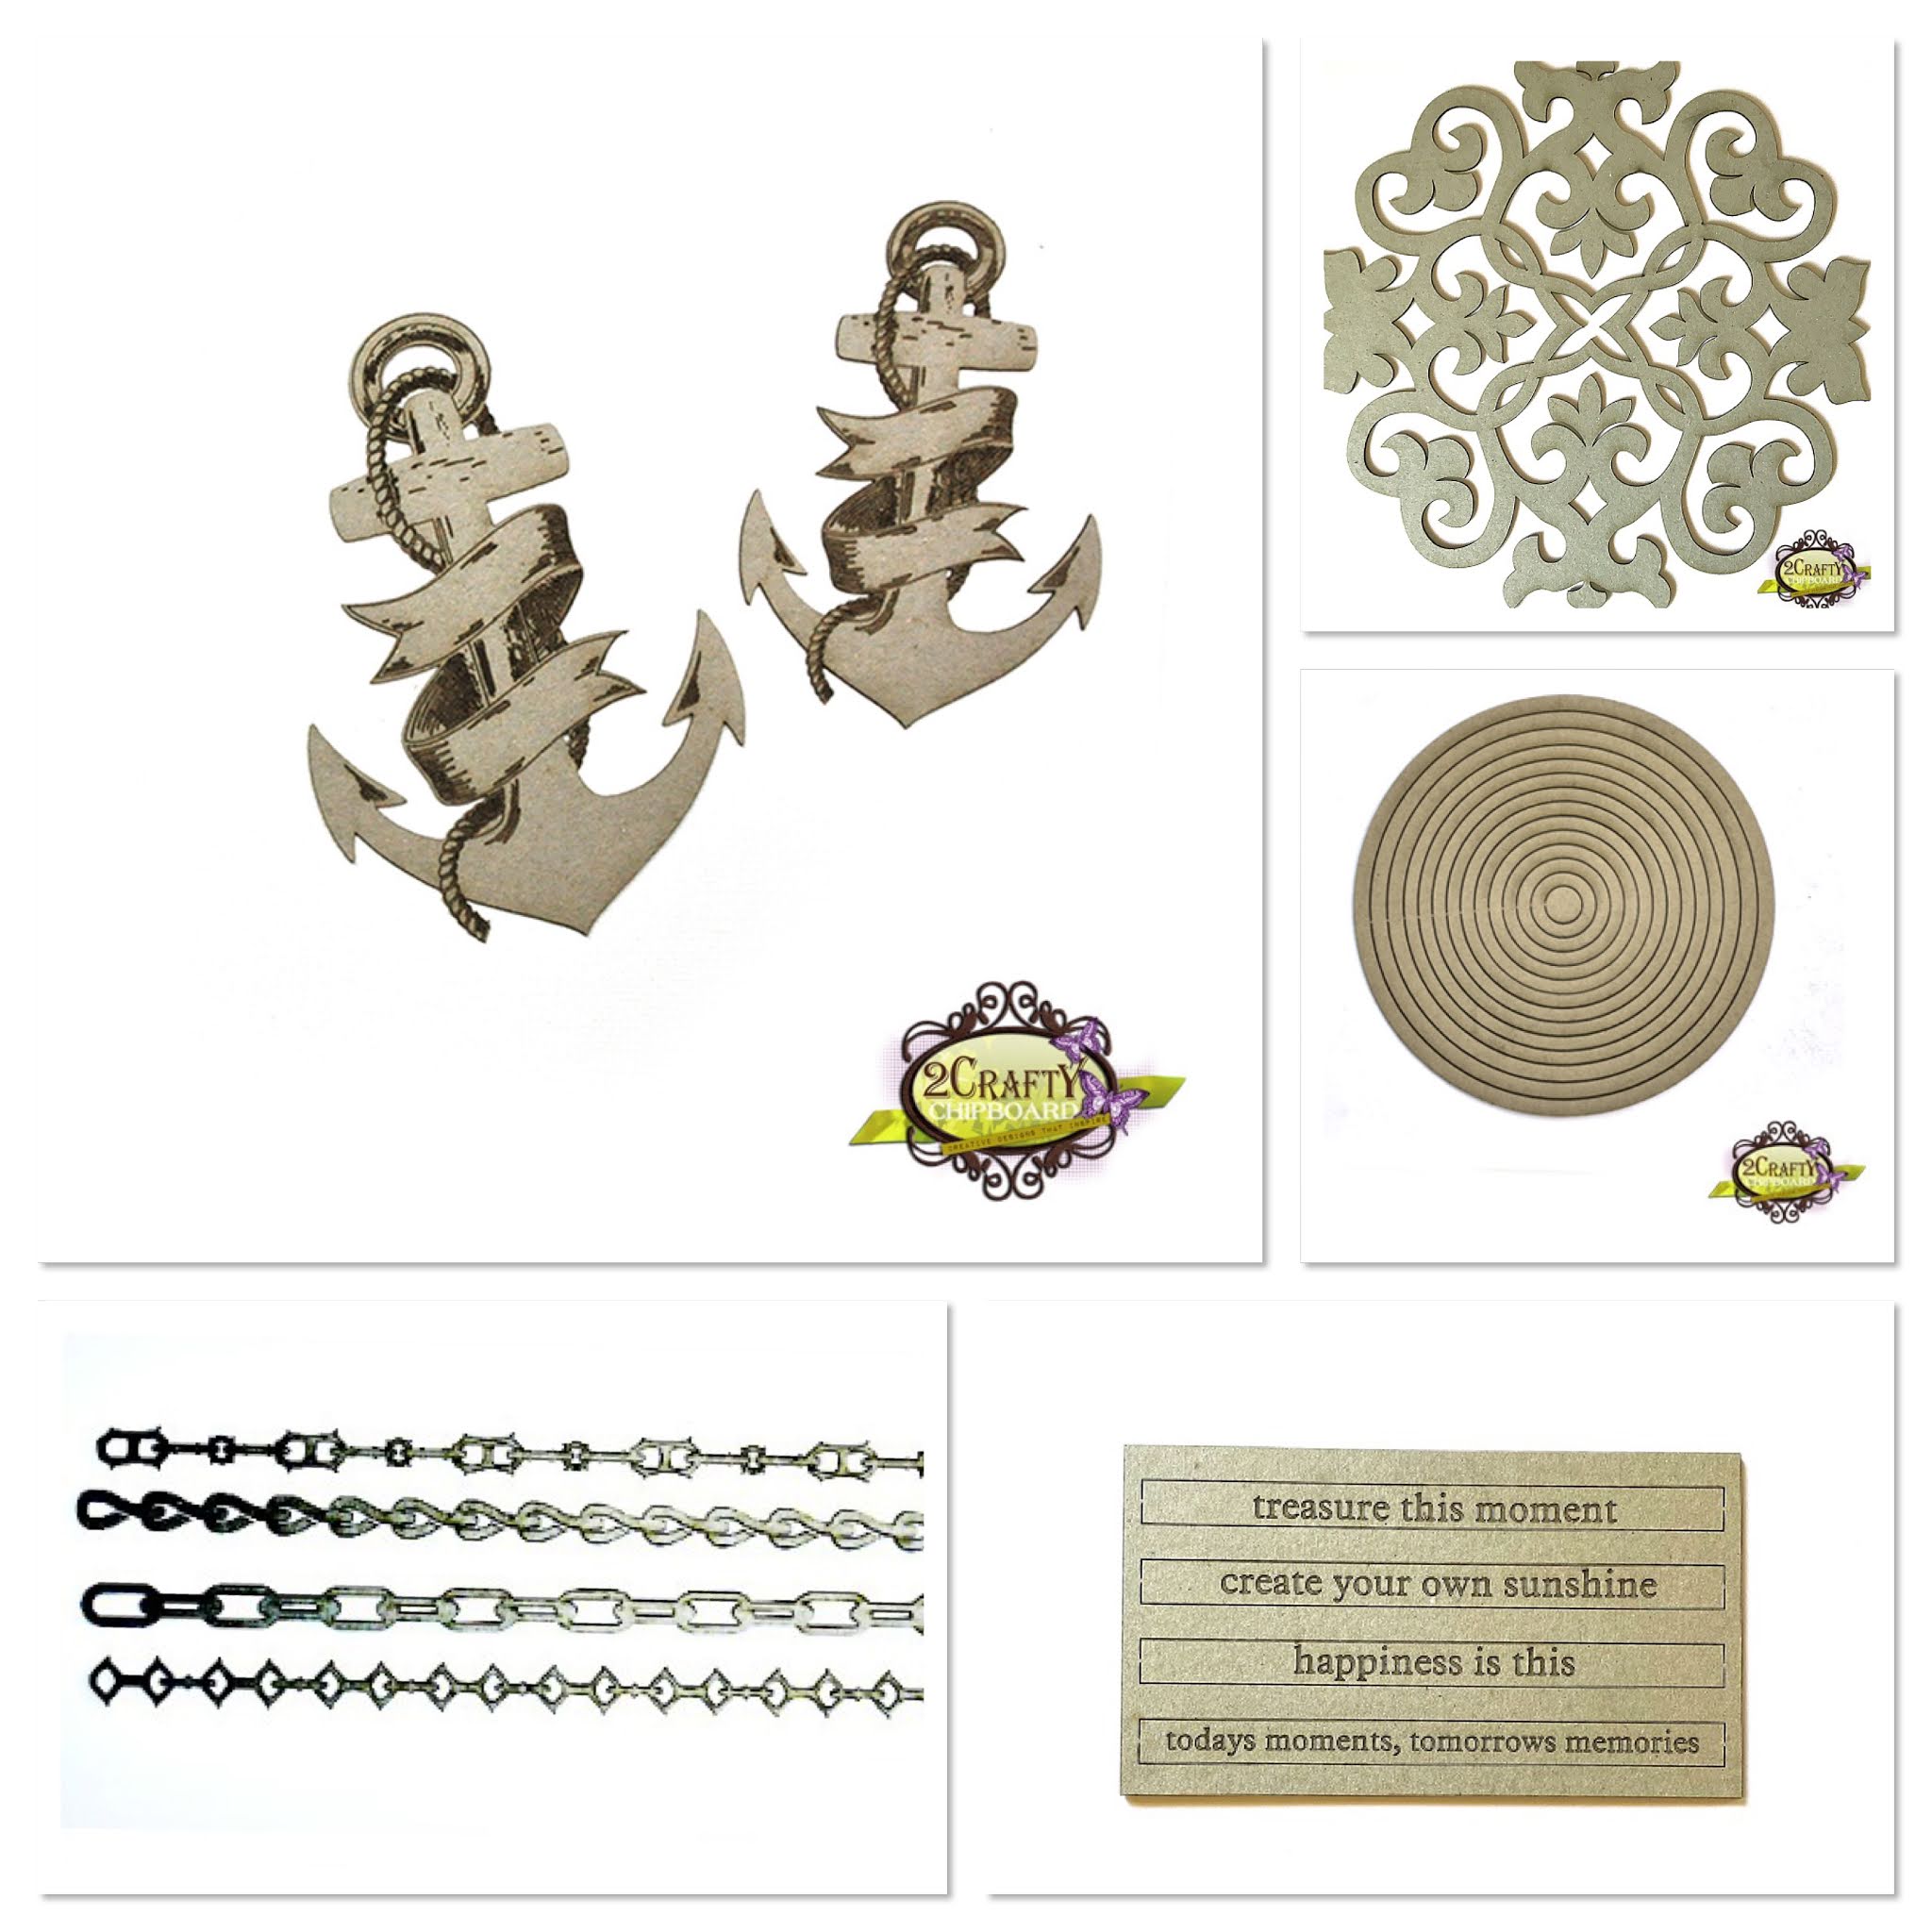
2Crafty chipboard used...
Circle Stack
Anchors
Asst Chain Lengths
6x4 Phrase Sticks set 5
10' Decorative Panel Doily 2

Step 1. Gesso all chipboard pieces.
Step 2. Paint all pieces with a sponge dauber using various shades
of Finnabair Metallique and Sparks paints. Two shades were applied to the
Circles randomly overlapping each other. The chain was painted silver, as
was the Anchor leaving some gesso visible and the title was brushed over
lightly keeping the words natural chipboard. The Large Doily was sponged
in a haphazard pattern so some white gesso can still be seen.
Step 3. Cut Large Doily in half.
Step 4. Dry brush some Old Silver wax over the chain length, around the border
of the Phrase Stick and around the edges of the Circles and Anchor.
Step 5. Using a palette knife randomly apply some Finnabair Gilding glue,
over the Large Doily pieces. You are. looking for a shabby worn finish.
This means don't apply it too thickly or too much in one spot. Once its
dried clear and tacky apply some Metallic Flakes and dry brush the
excess off. This way you will have a multiple layer look with the Gesso,
Paint colour and Metallic shine.

Step 6. Die cut 2 Tags from different papers that are approx 14cm and 12cm
long. Cut coordinating elements from your papers and two pieces of Muslin.
I used a corner rounder on my elements to match the Circles.
Step 7. Spray the Muslin on your 2Crafty packaging with some Lindys spray
that coordinates with your papers and dry gently with a heat gun on a heat
proof surface.

Step 8. Spray the same Lindys spray you used on the Muslin onto your
background out from where the photos will be. Dry with a Heat Gun and
splattered some on too, by removing the sprayer and tapping it. Dry with
a Heat Gun again.
Step 9. Adhere the two Doily pieces to either side of your background with
glue by rotating them. Mount the tags in position with foam tape between
them off setting them on an angle as per photo.
Step 10. Attach 2 photos (3x4) overlapping the top one and tilting it to the
left using Foam tape. Then tuck the Muslin pieces under the tags and on the
right side of the photos with some glue.

Step 11. Attach the Circles by cutting a small piece from the larger
one to tuck under the top photo and over the bottom corner of
the second photo. Cut the other circle in half and glue to the
background as per photo. The leftover piece then gets glued down
at the bottom and the end is hidden by the word Explore.
Step 12. Add Phrase Stick to left side on Doily. Cut Chain length at
one third so you can glue two pieces to the left side of the photo.
Step 13. Glue Anchor to bottom corner of photo by attaching to the
Circle. You may need to place something on it until dry so it adheres
in the correct position.
Step 14. Finish the layout by painting the back side of some Finnabair
Art Pebbles and places around your layout to dry in their position. Then
using Matte Gel and an old paint brush apply some Art Stones in
different sizes all around the layout for texture as you can see in the
finished photo at the top of this post.
Step 15. I completed the layout by tying some string through the tags.
Hopefully you can follow these instructions to complete your own layout.
If you have any questions then please message my Facebook page,
Scrapbooking With Passion by Charmane Sharp and I am more
than happy to help.
Until next time...
Charmane x
