Showing posts with label Choose happy. Show all posts

Monday, July 7, 2025

Choose Happy by Tania Ridgwell

Hi there!

Tania joining you today to share the first of my DT projects for July. 
 I have created a layout. 

"Choose Happy"


2 Crafty Chipboard Used:

*Choose Happy
*Boho Floral Clusters
*Flower Doilies


I have used the gorgeous Uniquely Creative 'While Away' Collection to create the base for my layout.  
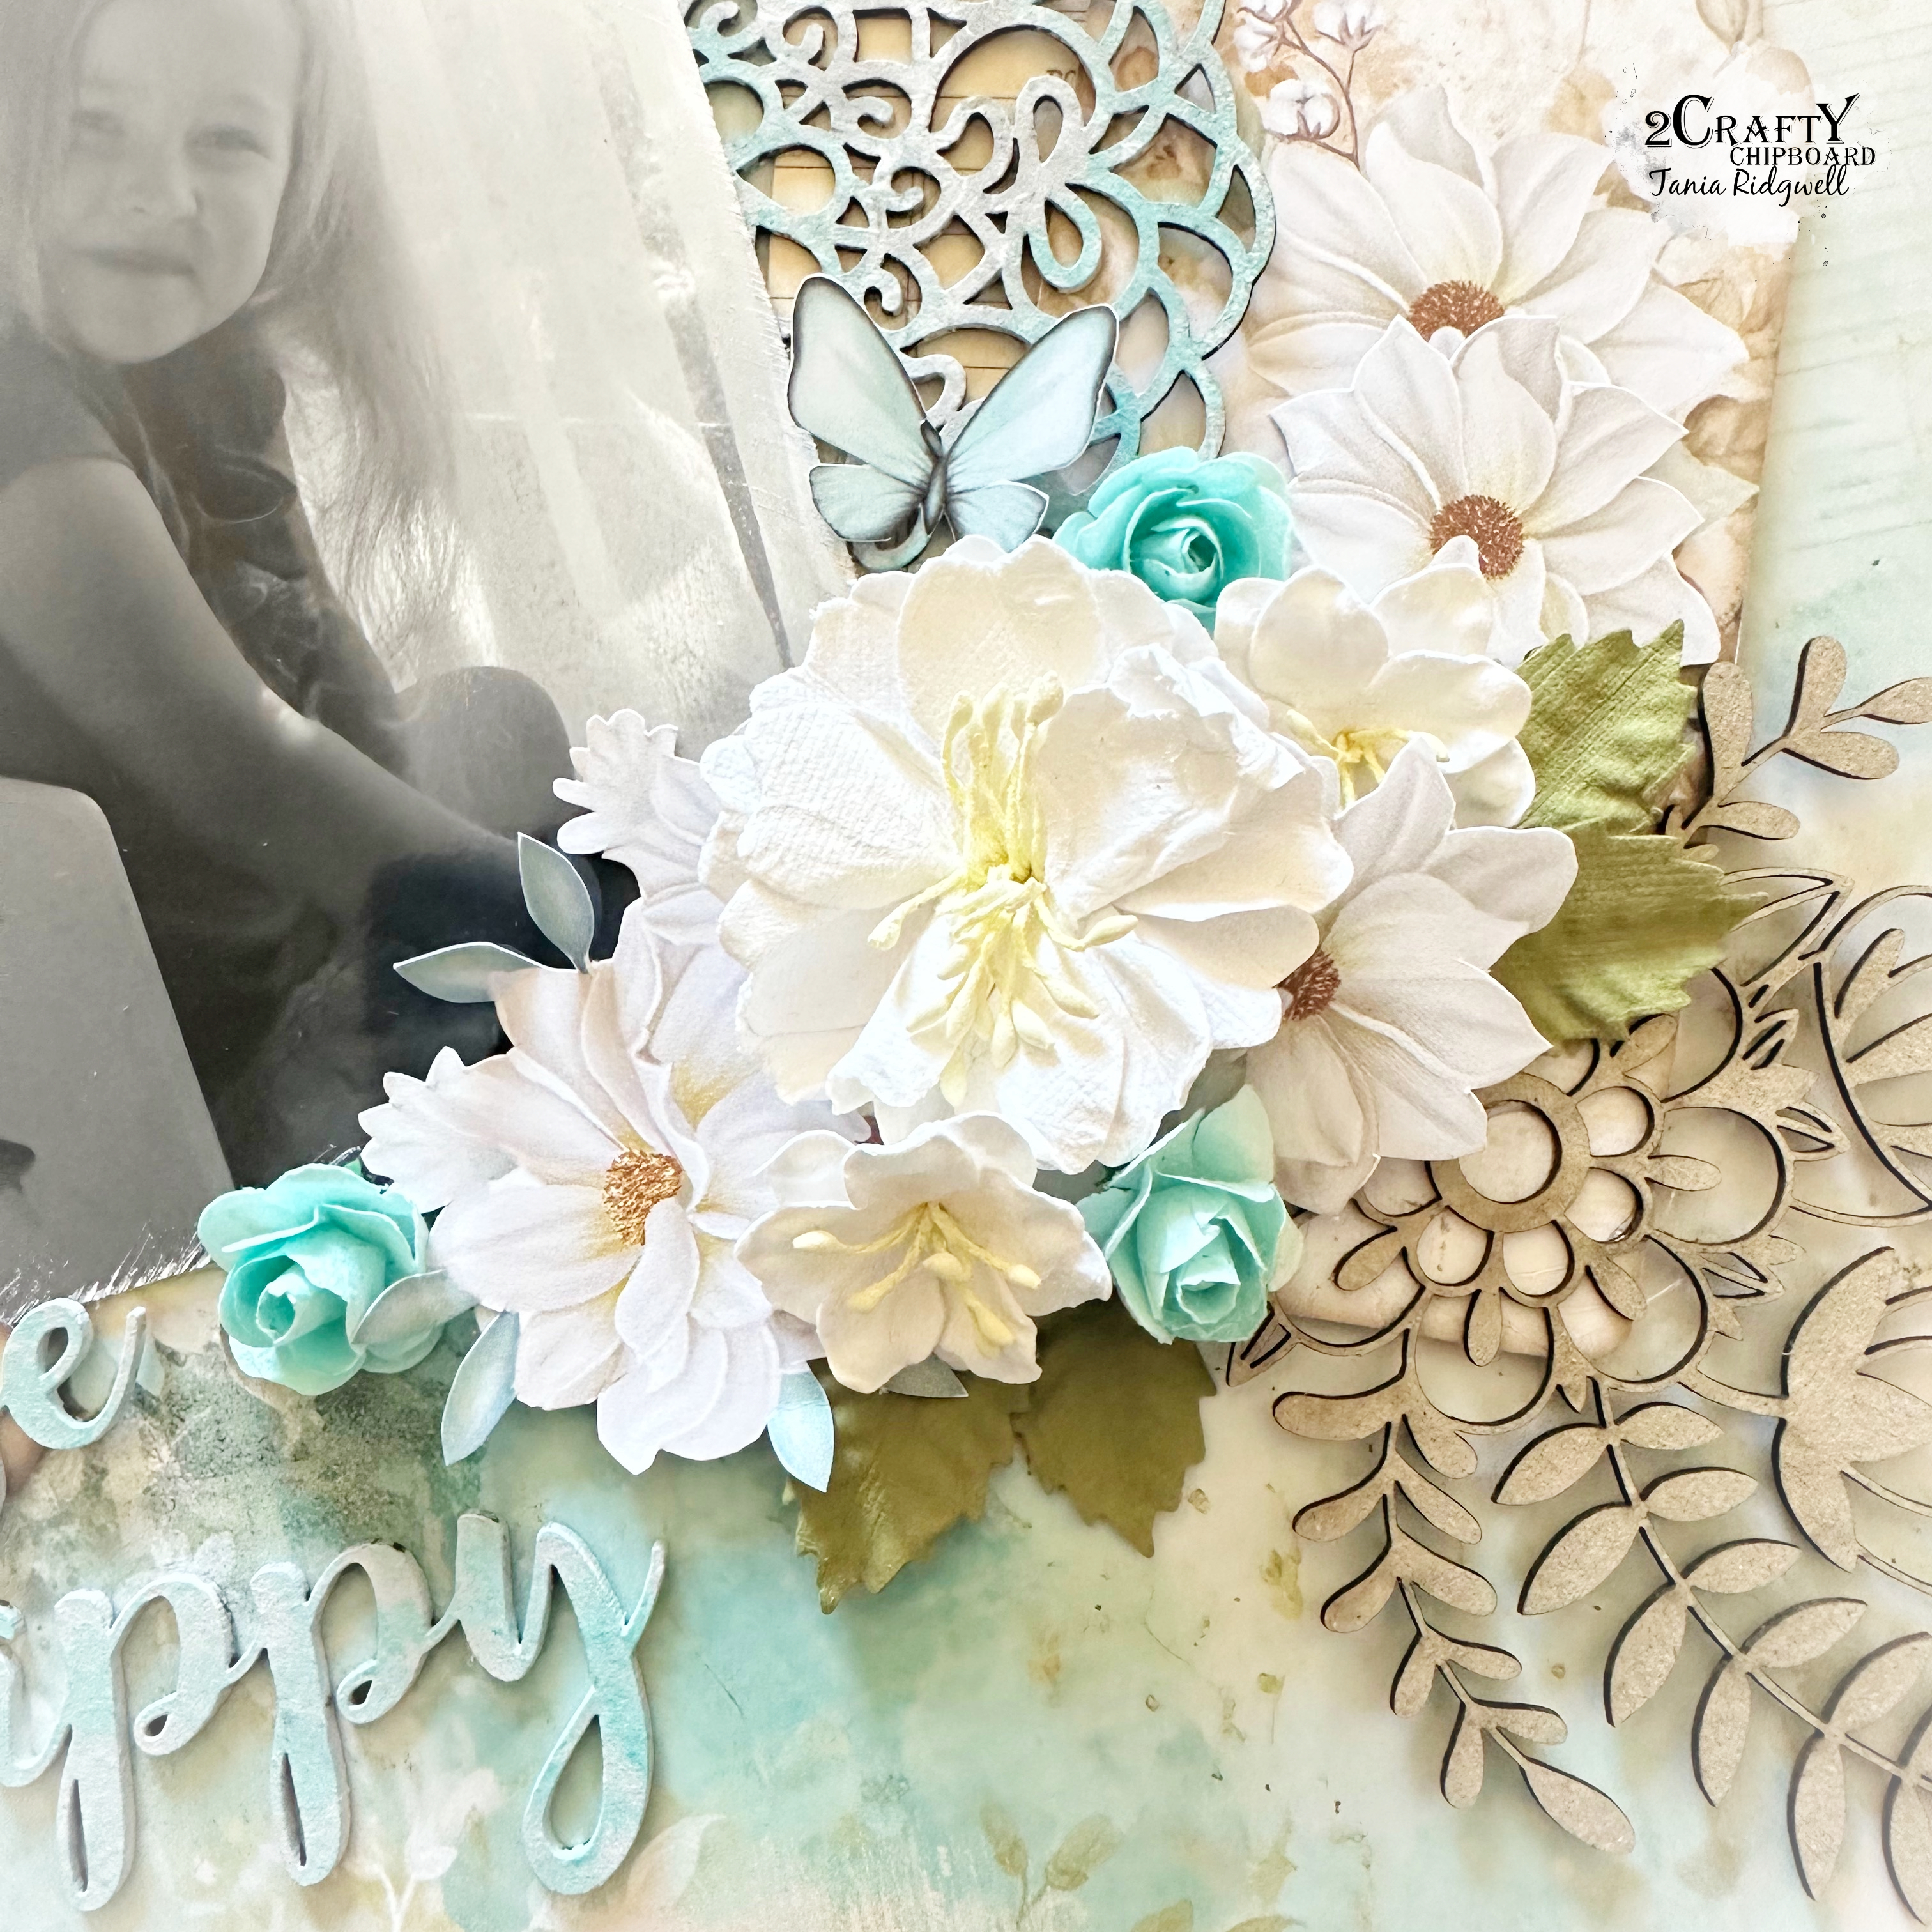

I first painted the Choose Happy & Flower Doily chippies with a coat of Gesso.  Once dry I added a little amount of Vibrant Turquoise Dylusions Paint to some gesso and then randomly dabbed this onto the chippie pieces.  The Boho Floral Clusters I have left raw.


I added some fussy cut tags from the "While Away" collection under my photo.  I cut the Flower Doily chippie in half and tucked a half along each side of my photo.  I added fussy cut flowers and paper blooms to the top and bottom of my photo and tucked a raw Boho Floral Cluster chippie into each of these.   I finished off my page by adding the Choose Happy chippie to the bottom left of my layout.


Thats' all from me today, I hope I have inspired you all with my Layout.
  Until next time thanks so much for stopping by.
Tania xx

Wednesday, October 4, 2023

Choose Happy Step x Step Layout by Tania Ridgwell

Hi there!

Tania joining you today to share a layout I created for my first share for October.  I have a short step x step photo tutorial for this layout.  I have to apologise I'm missing one of my photos for my step x step I had a little mishap with my phone - technology and I don't always see eye to eye!!! LOL

"Choose Happy"

2 Crafty Products Used:

*Choose Happy
*2023's
*Addy's Butterflies
*Tahnya's 6" Border
*Photo Adornment - Formal Flourish Set 3


I chose the gorgeous AB Studio's Somewhere Collection for this Layout.  To create the background page I tore the top and bottom edges of the papers and distressed the edges. I added some texture to the page using the Tim Holtz Stripes Stencil.  I also added some script stamping in black ink around the page and randomly flicked on some Dylusions White Linen Spray.  Once dry I added a couple of distressed papers layers for my photo to sit on.  


I first gave all my chippie pieces a coat of gesso.  I painted the Choose Happy, Addy's Butterflies and 2023 chipboard with Acrylic Opal Magic Green Gold paint and while they were still wet I also painted on a coat of Heidi Swapp Charteuse Color Shine to give a bit more of a brighter green look.  I also painted the Tahnya's 11" Border and Photo Adornment - Formal Flourish Set 3 with the same Opal Magic paint and while these were wet I randomly dabbed on Heidi Swapp Blush Color Shine over different areas of the chipboard.  Once I was happy with the colours of all my chipboard pieces I set about arranging them onto my page tucking them in and under paper layers and adding the Choose Happy Title to the bottom right of my page.


I used the fussy cut page from the collection and added lots of fussy cut flowers to the page tucking these in and under the chippie pieces and paper layers.  
I added my photo and then embellished around my photo with more fussy cut elements.  
To finish off my page I added some flowers around the fussy cut elements, tucked an Addy's Butterfly into each of the flowers and then added 2023 to the bottom left of the photo.

Some close ups....


Thats' all from me today, I hope I have inspired you all with my Layout. 
Until next time thanks so much for stopping by.

Tuesday, November 13, 2018

'Choose Happy' by Elisa Ablett - Mandala inspiration for November


Hi Crafters 💙💚💙💚💙💚

Elisa here with the first of my November inspirations for you.

Have  you seen the gorgeous new Mandala Chipboard Designs as yet??

If you haven't check with your local stockist to order your sets today, they are absolutely beautiful.

For my latest layout, I wanted to create a free spirited boho inspired layout to go with the Title piece - Choose Happy and the funny and cheeky photo of my great niece who is quite the free spirited character.

I had some lovely new inks from Avery Elle I wanted to try and some lovely metal flowers as well.

A tip for you all - grab out all your old hand punches I love using my circle punches, punch out some lovely watercolour paper and stamp with a mandala stamp or flower stamp to match the chippie. Then add your inks over the top, handy little hand crafted embellies for your page.

Here are the 2Crafty Chipboard products and links that I used on my layout:- 


Here are my close ups, lets have a look at how I altered my chipboard to match:-

 The title 'Choose Happy' I decided I wanted a two toned embossing to match the inks 
featured in the background. I started with the lightest powder at the top, embossed and then added the darker blue powder to the bottom half of the title and then embossed. 


I also embossed the 4" Mandala and Flower Medallion piece, firstly with a white glitter powder and then while still hot I sprinkled the middle of each piece with the lighter turquoise and blue colour and heat embossed so they melted together.
 I hand coloured each of the hearts with a blue posca paint pen while they were still in the negative chipboard frame to make it easier, then when they had dried, I carefully popped them out and glued them to my page.


To add extra interest to my chippie pieces, I added hand stamped punched circles that I had coloured with the inks and mounted them to the page over the top of the Chipboard with 3D mounting foam, this ties the page and boho theme in quite nicely.


That's it from me today, make sure you leave me some love in the comments!

Hugs xx

Elisa 


Sunday, July 8, 2018

'Choose Happy' layout by Rachael Funnell

Hello 2 Crafty Fans!

Rach with you today sharing my newest layout part of my July inspiration....
A masculine, grungy, boys page featuring my boy! 

'Choose Happy'

2 Crafty Chipboard I choose to work with... 
#Mini words set 1
Steam punk strips
Steam punk Medium gears
Steam punk Small gears
Choose happy (title)
ATC - Tiny stars
2018
Large stars
Giant gears & Cogs
It's does seem like a lot of  chipboard, but I have only used a couple pieces of each... 

 The Giant gear/cogs has a couple of coats of white Acrylic paint & I have cut this large gear in half  & have half peeking out under the corner of my photo & the other half peeking out from underneath a paper layer...
I have also given a couple of coats of White Acrylic to 2 of the Steam Punk Strips & place either side of the photo.... 
 The couple of Medium & Small steam punk gears, Either have a coat of White Acrylic or inked with black.....
The Large Star, 2018 & ATC - Tiny stars are inked with grey....


And lastly the #BELIEVE word has been inked with black......

I hope you are inspired in some way to get your grunge on too.....😉 Thanks for popping by today!
I'll be back later on in the month, till then 
HAPPY CRAFTING!