Wednesday, September 30, 2020

Love Canvas
By Charmane Sharp

Hello 2Crafty lovers,
Charmane with you today.

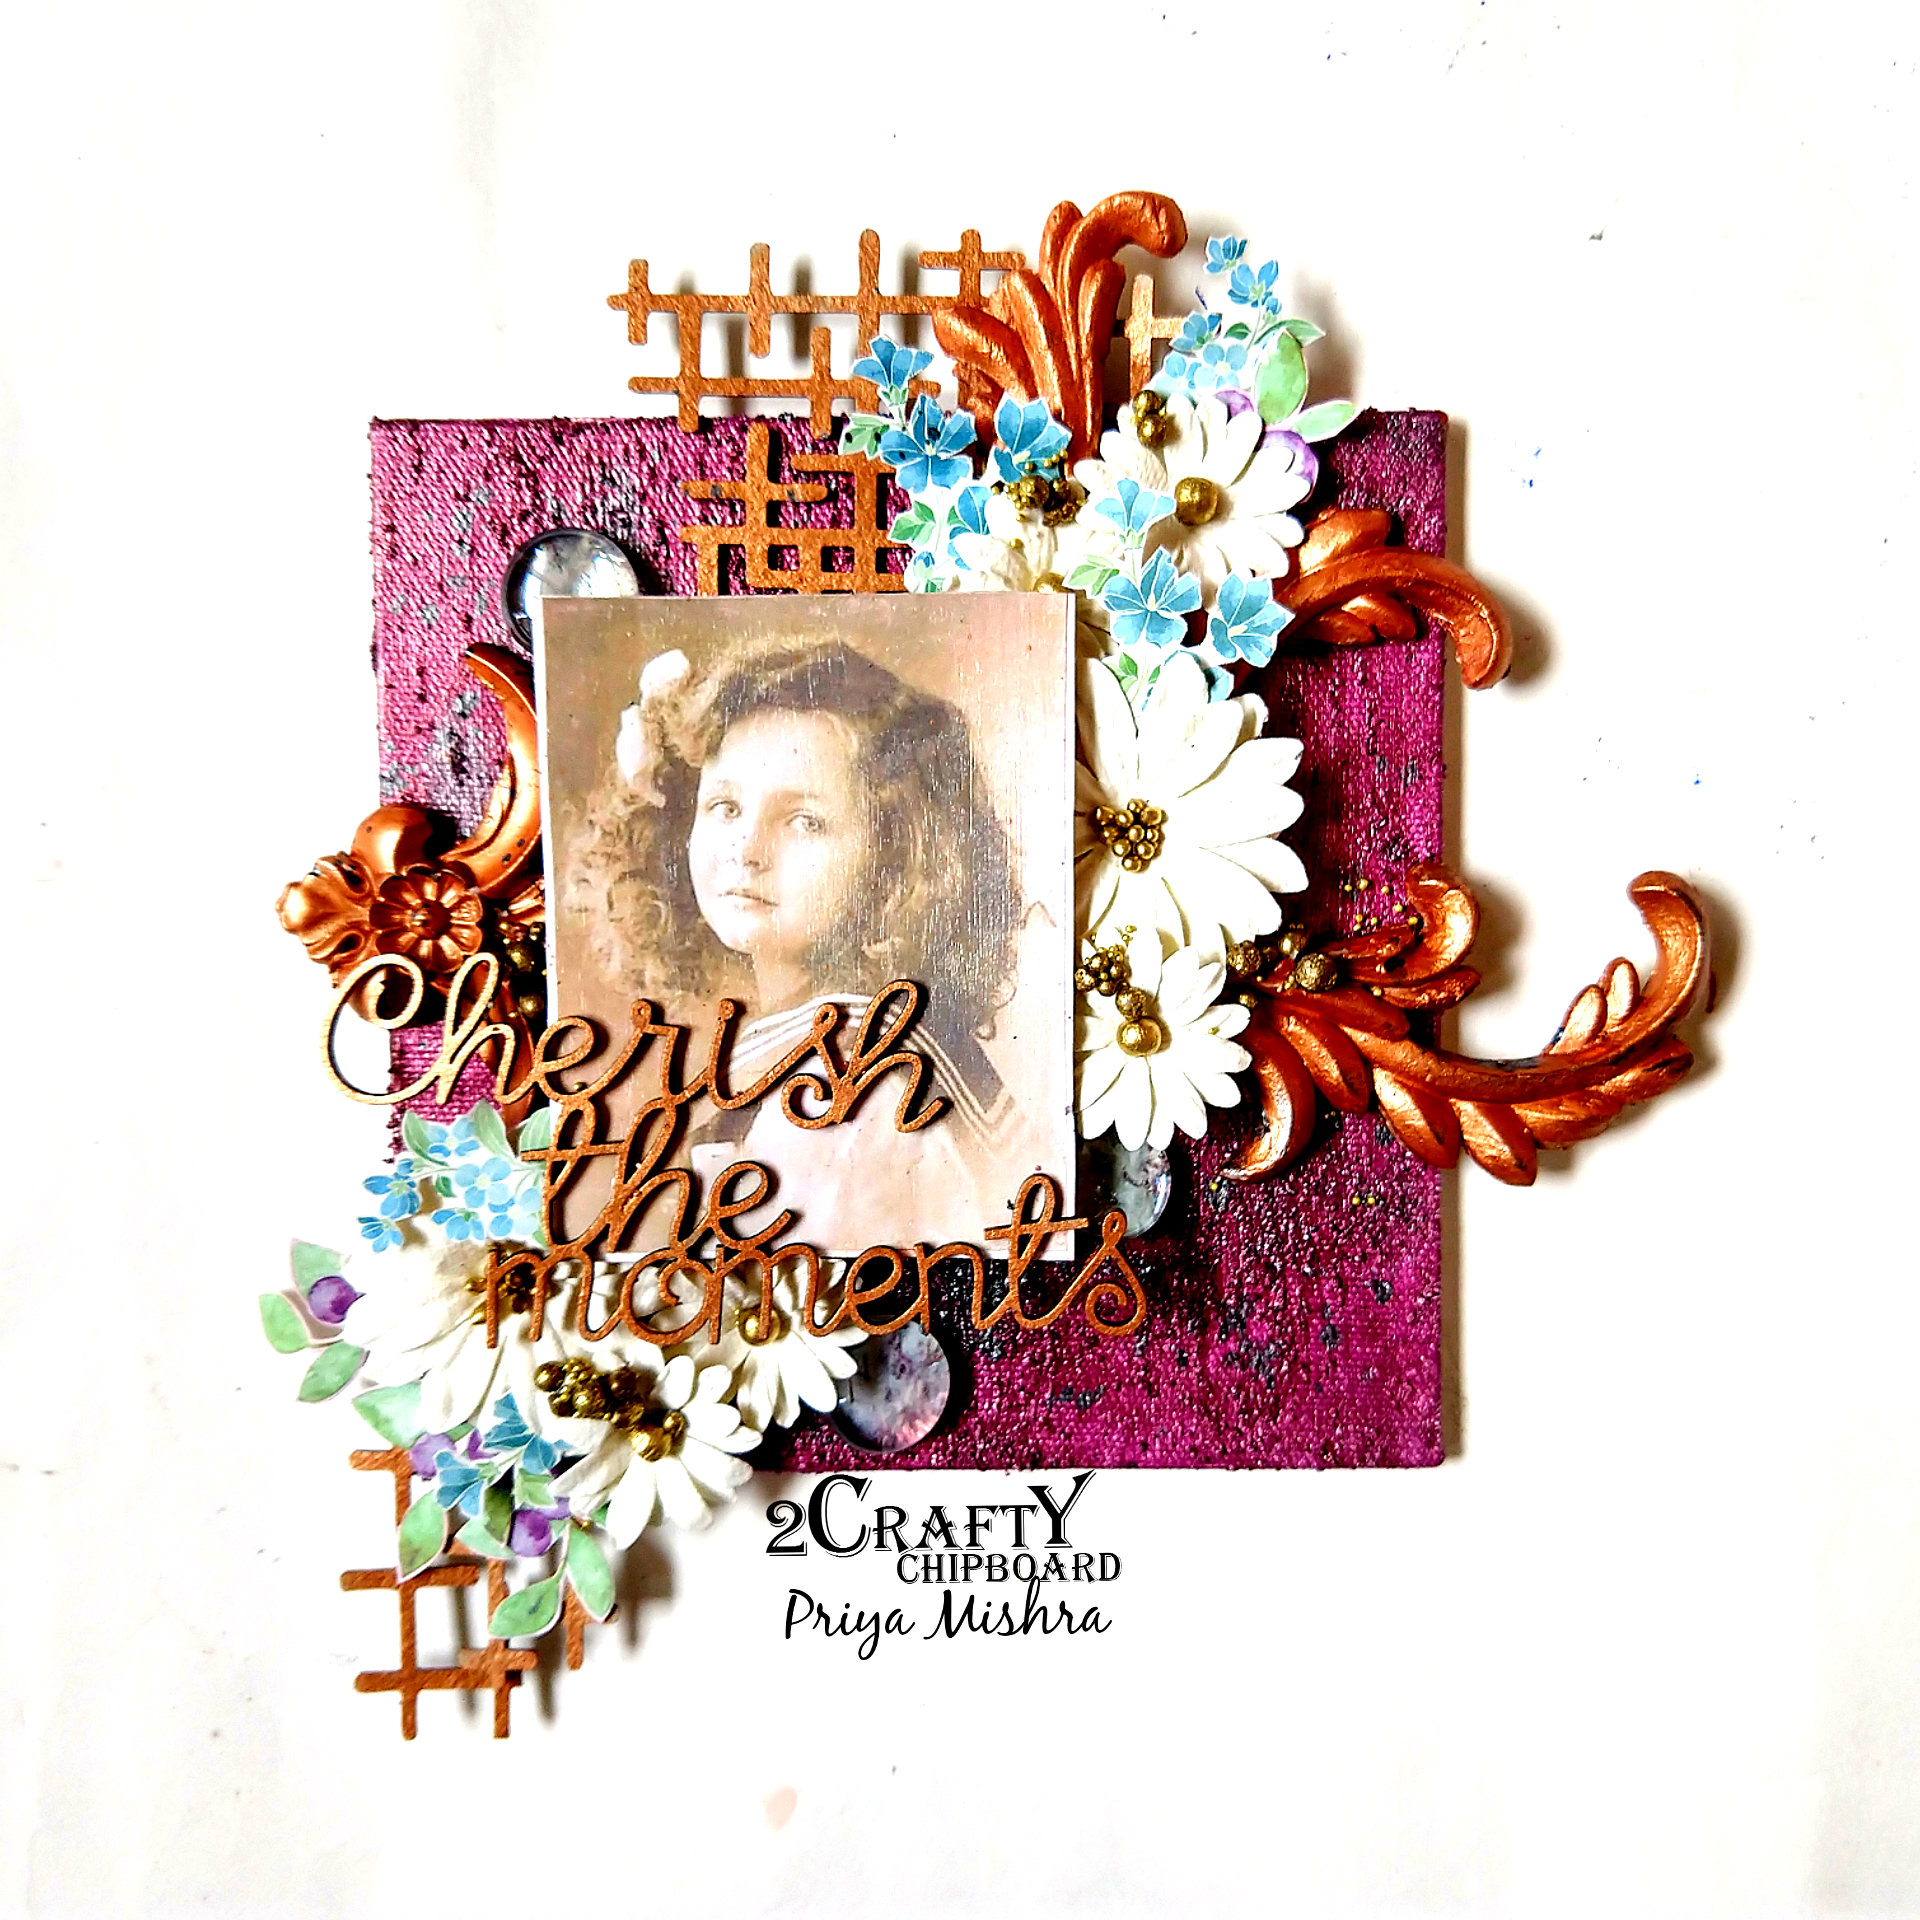
I wanted to create a reverse canvas with the
gorgeous P13 papers I purchased from
All about Scrapbooks.

I loved the bright colours that evoke happy thoughts. 


2Crafty chipboard used...

Moroccan Tile Panel
Asst Arrows
Mini word set 2
Frame Viney Circles
Berry Vine set


When reversing a canvas you need to think about hiding the large staples.
I did this by coating the entire frame first with gesso and then a coat
of Tim Holtz Grit Paste applied with a spatula creating texture.
Once completely dry the next step was to use a stencil and apply some
Texture Paste through it.

When fully dry I sprayed the canvas with water and applied Finnabair paints
allowing them to blend together. Finished with a little wax to highlight.


I chose to add some arrows to the license plates and mounted the title on one.
The arrows were gessoed and sprayed with a sparkle spray. The word love was 
coloured with Finnabair paint.


Cutting pieces from the panel gave fantastic detail behind my fussy cut
elements. Especially with a coat of Ink Gold wax in Gold.


Viney Circles are so versatile that I decided to use them as decorative
pieces as opposed to Frames. Inka Gold wax in Magenta allows them 
to stand out amongst my fussy cut elements.


Berry Vine set looks gorgeous amongst my cut out flowers. I cut it into three pieces
which I used 3 colours of Inka Gold wax to give a lovely soft look to as a
contrast to the surroundings.


I hope this canvas has brought you some joy today.
Creativity is what makes me smile everyday.
A little bit of Art keeps daily stresses at bay.

Thanks for stopping by,
Until next time...

Charmane x


Tuesday, September 29, 2020

Love You Long Time ~ by Lisa-Marie Watling

 Hi everyone!

I hope that today's post to this inspirational blog finds you all well!

I'm sharing a piece I created using the clues from CSI: Color Stories Inspiration.


Here are the details of the gorgeous chipboard pieces I used on this layout:


I used some teal-blue distress oxide on my title.


I chalked the little moon with a pale green and then used a 
darker green to shade around the edges.


I cut my Tattoo Swirl in half and then misted it first with a light pink and then 
randomly misted with a darker pink; then I applied a coat of Glossy Accents.


Hope I inspired you in some way!

Until next time!


Monday, September 28, 2020

Cherish The Moments~ Canvas by Priya Mishra

 Hello 2Crafty Chipboard Fans,

Priya here with a Mixed Media Canvas which is very shiny.

2Crafty Chipboards used

Interlocking grid Panel

Cherish The Moment


I always love these kind of Interlocking Panel chipboards which are great for creating
backgrounds. I colored the chipboards using Finnabair metallic colors.


I hope you like my project.

Do share with us what you create with 2Crafty products.

For more of my creations visit INSTAGRAM

Thank you for visiting,


Saturday, September 26, 2020

Marine Inspiration With Yulia Pospelova


 Hello creative people! Today I want to show you some marine inspiration.

 In this difficult year, not everyone was able to be at the sea. We live far from the sea,
 so we can only dream of warm water.


I created a layout using these 2Crafty chipboards:


I used 11 "SeaLife Frame Set in the very center. And I placed the fish all over the layout.

Lots of fun creating the water scene with the bubbles and netting.


I ended up with a seabed, in the center of which there is a door to the surface.


I suggest looking at the details in the photos.

Lots of lovely details and layers with the netting and seaweed


So much detail in the layers.


Thank you all for stopping by! 

Until next time

 Yulia Pospelova 


Thursday, September 24, 2020

'You hold the key to my heart'
layout by Rachael Funnell


Hello & a warm welcome to the 2 Crafty blog....
Today I share another layout I have created
featuring a beautiful photo of my family
 & some great chipboard pieces...


You hold the key to my Heart (title)
heart Circle Arrows - the larger of the Heart arrow
Fine border 
Corner Hannahs Flourish
ATC - Tiny Stars & Hearts -Tiny hearts


Once I added some stamping, paper layers & fussy cutting to my page
I went about prepared the chipboard, with applying a couple
of coats of gesso to the Heart arrow & Corner Hannahs Flourish

then cutting the Flourish into smaller pieces & placing underneath
 the left side of fussy cutting...


Next I inked the ATC -Tiny hearts with pink 
the Fine border I Coloured with purple using the Tim Holtz - Distress 
Crayon too tie in with the purple fuusy cut out flowers..
& cut into 2/3 -1/3 & adhered either side of my page..


AND Finalizing my layout with the title
You hold the key to my Heart this with a nice gold...


That's it from me today!!
Hope you liked my bit of inspration..
Until next time!


Wednesday, September 23, 2020

"Wasn't Me"
By Di Garling


Hi there 2Crafty fans, thanks for stopping by.
Today I have another new boy layout to share with you & naturally
I have used some great pieces of our chipboard !

I am also releasing this layout as a KIT
all details are on my blog.

2Crafty Chipboard Used...

2Crafty Chipboard Used...
“Wasn’t Me” - title
 Film Strip - Tiny
6” Chequerboard Panel
 Arrow from the “Circle & Heart Arrow Set”

So after first doing a little mixed media background, I set about altering my
chipboard pieces to match my layout. That really is the beauty of using chipboard,
you can customise  & co ordinate everything to match perfectly.

After base coating the "title" & the "chequerboard panel", I then sponged 
on a little bronze metallic paint, followed by sponging on some white gesso to
create a rather patchy effect.


I sponged on some black ink on the "Film Strip-tiny"
cut it in half & placed a piece either side of my layout.


I also cut the "Chequerboard Panel" into pieces
& poked them in around the clustering.


The last piece I used was this gorgeous arrow from the "Circle & Heart Arrow Set".
I sponged black ink on it, the same as I did for the film strips & 
then added a couple of tiny flowers.


Well thats all I have for you today.
I hope you like it & I will see you back here in a 
couple of weeks with more inspiration for you.


Until then...