Hello everyone, Charmane here today to share a Step by Step Tutorial I created
for you all. I thought it might be nice to have some inspiration ready for your
Christmas memories that are waiting for you to create this year. If not the entire
layout you might find some techniques or ideas to get your creativity flowing.
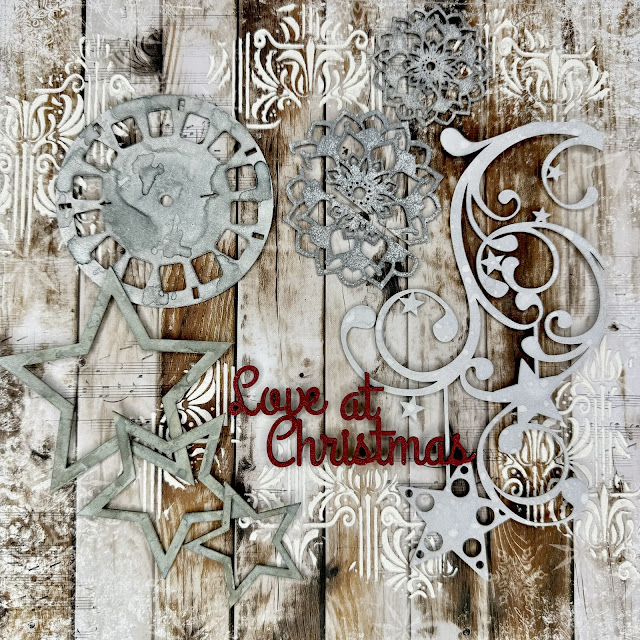
2Crafty Chipboard used...
Corner Xmas Star Spray
Doily Disc set 1
Title- Love at Christmas
Stars Pack
View Finder
I have chosen the Alchemy of Art Ho Ho Ho Collection.
Step 1. I chose the woodgrain piece for my background and coated it in Clear
Gesso then stamped a Music sheet stamp around the paper with a Black
Archival ink.
Step 2. I used a stencil and spread some Distress Grit Paste through for random
groupings of texture.
Step 3. Fussy cut chosen elements to coordinate the layout and diecut
some Stitched rectangle to mount the photo on in white and red.
Step 4. I diecut 2 pieces to add design to the back of my layout. These
were from the Uniquely Creative Album set. You could also draw a design
and cut it out yourself.
Step 5. After coating all the chipboard in Gesso I painted the title with
Finnabair Royal Red. The Stars were sprayed with Lindys Sea Grass Green
and heat dried and repeated to get pools which get defined once heat set.
Step 6. The Corner Star Spray was sprayed with Lindys Silent Night Silver
and heat dried. Then I removed the sprayer from Frozen Jack Frost and
flicked drops off white over the top for some contrast.
Step 7. The View Finder was sprayed with Lindys Down the Rabbit Hole
repeatedly drying in between to get the puddle outline look. The Stars had
Finnabair White Pearl sponged on and then a little Silver Spoon sponged
over to highlight the texture.
Step 8. I began assembling the layout by gluing the larger die cut piece
and then used foam tape to raise the smaller one on top. Then gluing the
Corner Star Spray in place.
Step 9. I mounted the photo on top of the red cardstock and then added
foam tape to the back and adhered the white cardstock. Next I glued that
on to the layout tucking the house in on the right and adding foam tape
to keep it level where required.
Step 10. The View Finder was tucked in on the left after I cut a small piece
off to make it slide in. The Stars were glued in place with fussy cut pieces
added as per image.
Step 11. I added another layer of fussy cut pieces around my photo and
cut the larger Doily into two pices tucking one in at the top right of my
photo. The other one under the bottom left of my photo under the stockings.
Step 12. I created a feature at the base of my layout by gluing the small Doily
down and adding a Star on top to the right. A fussy cut piece was added and the
title glued on. I added some Silver pearls around the layout and used one to hold
the letter s on Christmas level.
Until next time...
Charmane x


