I purchased the 3 Quarter Puppy Love paper pack. I wanted to share
how you can take a pack, add some 2Crafty Chipboard and bring your
layouts to life.
Creating with our pets is always special as they are an extension
of our family.
This is a Step by Step Tutorial for you to follow.
2Crafty Chipboard used...
Title- Puppy Love
Frame Lucy's Flourish
Berry Vine set
Mini Decorative Frame set 1
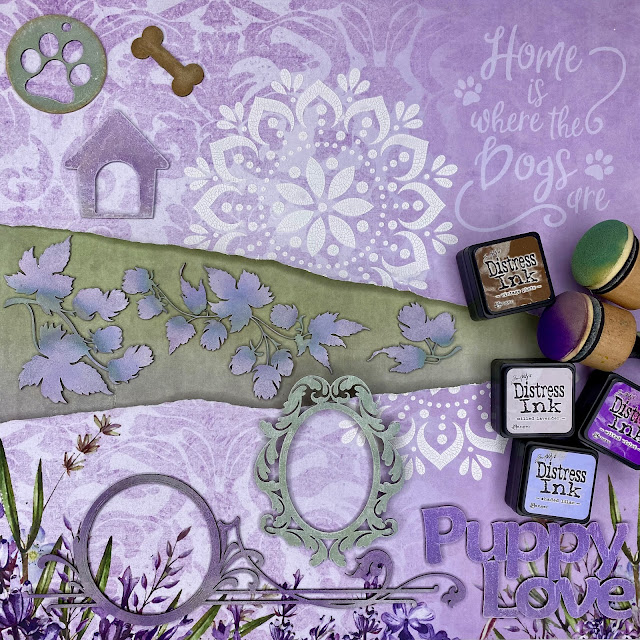
1. After a coat of Gesso to all the chipboard pieces including those from the
3 Quarter Design pack use a blending tool to apply Distress ink. Dry brush some
Gesso to some of the pieces to highlight them, especially the title. Then coat the
two frames and title with clear embossing powder so they will stand out a
little more.
2. Tear a triangle piece from your paper as per photo and then cut another
piece of paper to fill the gap. Apply clear gesso to all pieces and adhere to a
piece of card as shown.
3. Use a Mandala Stencil and apply Crackle Paste through it in two spots as
per photo.
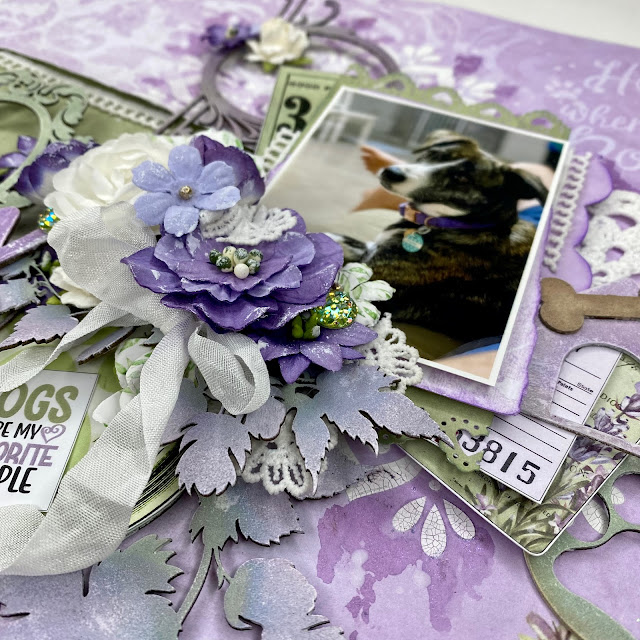
4. Glue half a doily to the side of your photo or a chipboard one.
5. Create a photo cluster using foam mounts between the layers and
some embellishments from the pack.
6. Place the Frame Flourish under the top left corner of your photo.
7. Adhere two flowers to sit the Decorative Frame on and glue it to the
flowers.
8. Attach flowers to create clusters as I have in the photo above and to
the Frames.
9. Then glue the Title to the flower so it sits flat. Tuck the Berry Vine
pieces under the flowers to flow out with gorgeous details.
10. Add a ribbon bow under the flower for softness and cut pieces of
lace between flowers and under paper edges.
11. Finish with some Lindy's spray in Tea Pot Purple and use a paint brush,
to apply out from your photo cluster and flower clusters for final highlights.
I hope you have enjoyed the tutorial and played along with me.
Until next time...
Charmane x


