Hi everyone! Robin here. Welcome back to the 2Crafty Blog.
Today I am sharing a step-by-step tutorial for you. This layout is easy to make, and it does pack a punch if I do say so myself!
So sit back, relax, and let me show you how it was done...
"Wild at Heart"
The 2Crafty Chipboard I used:
Wild at Heart - title
Corine's Swirl
Mini Flourish Bits
Decorative Doily
I'm going to start with the chipboard.
and tell you how I altered it before going on with the composition.
First, I gave it all a coat of white gesso. The products I used were:
Ranger Texture Paste - Opaque Crackle
Artalchemy Metallique Wax - Bronze Age
Liquitex Basics Acrylic - Gold
Liquitex Basics Acrylic - Bronze
Liquitex Basics Acrylic - Copper
Art Philosophy Watercolor Confetti Set
Ranger Distress Grit Paste
On Corine's Swirl, and the Mini Flourish Bits, I first applied the crackle paste with my finger. I put it on pretty thick on some parts so it would be raised and add dimension.
When it dried, I mixed all 3 acrylic paints to get the color and then painted it on with a paint dauber so it would look almost like I used gold leafing. I also cut the bottom off of Corine' Swirl into 2 pieces to be able too use it on different parts of the layout.
On the Decorative Doily, I first used the grit paste on the tips of the doily, and then used sky, denim, blue, a little black and a dot or 2 of white from the watercolor set. My thought was to try to get the same colors and "textured" look of the background paper.
On the center of the doily, I used the same mixture of acrylic paint as the swirls. Then going out toward the tips I used a mixture gold and bronze paint followed with the Metallique wax applied with a small brush blending as I went.
A little gold paint on the spokes and a mixture of all 3 paints on the rim and it's done.
On the title Wild at Heart, I painted it the same as the swirls only I didn't use and crackle paste on it. I wanted it smooth just to be a little different.
Now let's put it all together.
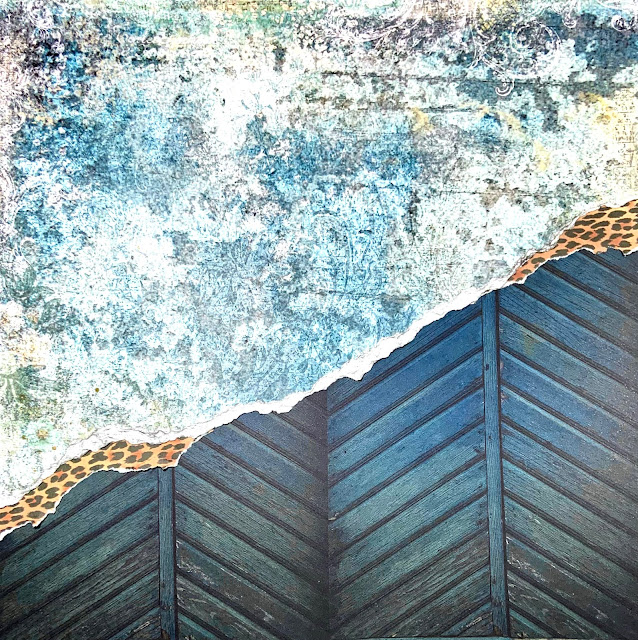
I started by tearing the patterned paper diagonally. Then added just a little animal print to the
sides and glued it down on the bottom paper.
sides and glued it down on the bottom paper.
I added a journaling card at the top and then glued down a paper frame with a little of the
animal print in the center.
animal print in the center.
I then placed the first photo a little off center with Corine's Swirl tucked in the side.
I then added the second photo with one of the pieces I cut off of Corine's Swirl tucked in
on the bottom left. I placed a small piece of wood on the side of both photos.
These were already painted blue, I just added a little of the paint on the edges, the inked it
with black ink.
These were already painted blue, I just added a little of the paint on the edges, the inked it
with black ink.
I also added a small gold frame around the second photo to create separation between the photos.
Then I laid down the bottom pieces of chipboard, tucking in the Decorative Doily just a bit
under the photo. I also added a small glass clock to the center of the doily.
under the photo. I also added a small glass clock to the center of the doily.
I placed the title, "Wild at Heart" at an angle to fit into the Decorative Doily kind of like
wheels in a cog.
wheels in a cog.
Then placed the piece from the Mini Flourish Bits on the right.
After all the chipboard was down, I added the flowers and the branches.
Also placing one flower at the top of the photo with the last piece of Corine's Swirl.
Also placing one flower at the top of the photo with the last piece of Corine's Swirl.
And that's it! I hope you like it, and were able to follow along.
Until next time, stay safe and keep on crafting!
Until next time, stay safe and keep on crafting!


