Welcome to the 2Crafty blog today,
Charmane with you
to share a shabby chic layout.
I absolutely love my shabby shutters
that I altered to frame my photo.
I will explain how I created this look if you
read on below.
2Crafty chipboard used...
Kites
Window shutter set
Birds set
4" Mandala No.3
Leafy shrub set 1
Line words- Summer borders
Foliage set 8
I wanted to create aged shabby looking Shutters so I coated them in gesso and then
went about rubbing the edges with my scissors to rough them up and take
some of the gesso off as though it had worn off.
I chose a couple of different foliage pieces to sit over my Shutters. They were
coloured with Prima Watercolours and some white wax on the edges. Flying Birds
were Gessoed and only a little watercolour applied for softness.
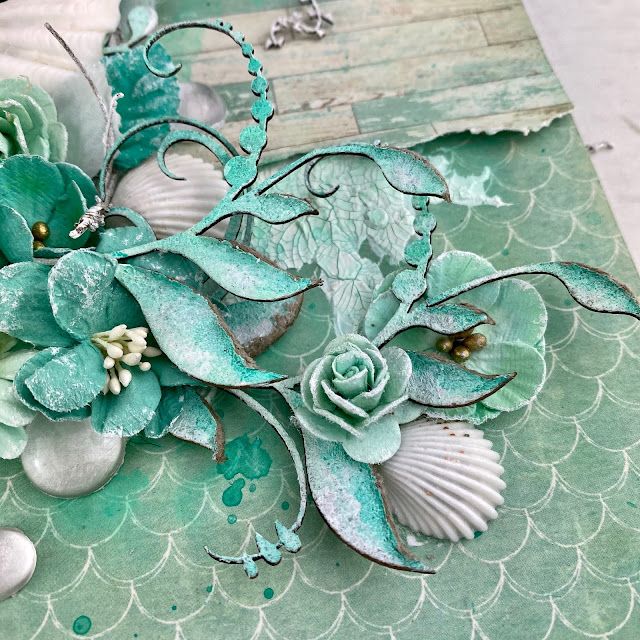
For a little more shabby chic look I applied watercolours to the Leafy Shrubs
before roughing up the edges of the leaves with my scissors. I think they
look quite effective amongst the flowers and shells.
Cutting the Mandala from its circle outer gave this piece a new look.
Simple white gesso is all that was required to nestle at the base of my
photo for some pretty detail.
A Kite flying on the corner of my layout adds that freedom feeling you have
when sitting on the beach admiring the gorgeous view. I covered the Kite in
patterned paper and recreated the lines by going over with an Awl.
The lovely title at the base of my layout was given the same shabby chic finish.
Altering the chipboard in this way means you can use the same pieces that
you love giving them a totally unique look.
Hope I have given you some new inspiration today,
sharing this ,layout with you all.
Until next time...
Charmane x


