Digital Credits:
Just My Type Mini Art Journal Kit
Dear Darling Mini Art Journal Kit
Technique 1:
Creating a negative film strip using transparent paper.
Step 1:
Create a digital image of your photo's and adjust them so they are inverted
to create the negative image. When your happy with the contrast and
saturation isolate the photo strip layer in your photo editing program,
cut and save as a new seperate .jpeg file. Reverse the image so that
when it is printed out on the transparency film it will print the right way up.
to create the negative image. When your happy with the contrast and
saturation isolate the photo strip layer in your photo editing program,
cut and save as a new seperate .jpeg file. Reverse the image so that
when it is printed out on the transparency film it will print the right way up.
Upload the newly created file into a word document. Before printing make
sure you set the printer to Transparency so as not to flood the film
with too much ink. Once printed, set the transparency aside to allow the
ink to dry completely before mounting the chipboard frame.
Step 3:
Prepare the frame by giving it a light sand, then paint or ink it black.
Set aside and allow drying time. Once dry flood it with dimensional magic
to give it a sheen not unlike the old film negatives. Lastly mount the
printed transparency under the chipboard frame.
Set aside until ready to incorporate into your project.
Technique 2:
Don't throw the off cuts away USE them!
Step 1:
Place the negative off cut from the 12X12 Alpha Sheet on top of your base
cardstock or cardboard so as it acts as a stencil. Tape the top and
bottom edges to your craft table to ensure it doesn't move.
Then spread some Texture Paste over the surface using a palette knife.
Carefully remove the stencil and set aside to dry.
Step 2:
After the paste has dried give the surface a sanding to smooth
it out in preparation for painting.
Step 3:
Paint the surface using gesso. Depending on how opaque you want your
surface you may need to do a few coats. Allow each layer
to dry before painting.
Technique 3:
Twinklify your chipboards.
Step 1:
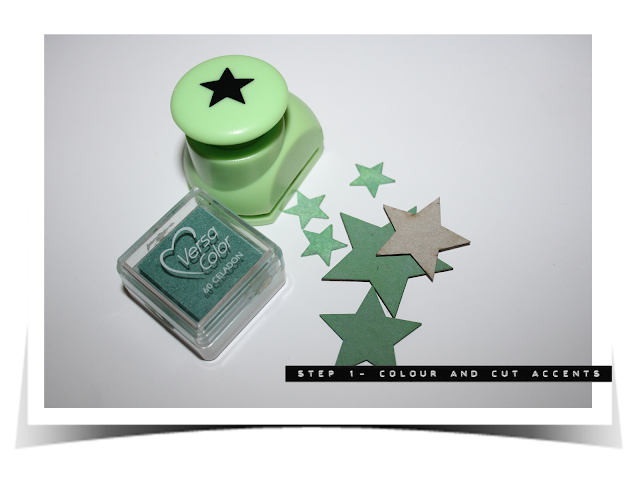
Paint or ink the accent chipboards. Inking is a quick and easy way
to re-colour your chipboards.
Step 2:
Add some sparkle to your accents using stickles. Set aside to dry.
So there you have it 3 simple techniques to create a page using those fabulous
2 Crafty Chipboards you have in your stash. Hope you enjoyed them and
can't wait to see some retro film negatives in your projects tee hee.
If you would like to see more hybrid/digital projects you can check out my blog
Just A Girl With Ideas and say hello.
Ooh and I should say a big thank you to Vanessa and Di for welcoming me
to the 2 Crafty crew, its been heaps of fun and a nice change to get
my hands inky again and can not wait to share my next project with you!
Em xo


