Today I have 2 small techniques to share with you, both are pretty easy, but very effective.
Crackle Finish:
Most of you have probably used the Distress Crackle paints by Ranger, really simple process but hard to use on smaller chipboard pieces and limited to the colours they make. There is also the 2 step crackle effect, a number of companies sell a crackle medium so you are able to use any colour you choose.
Step One: Apply you base colour, I've used gold. But a little side tip, some metallic paints don't work as well. Allow to dry.
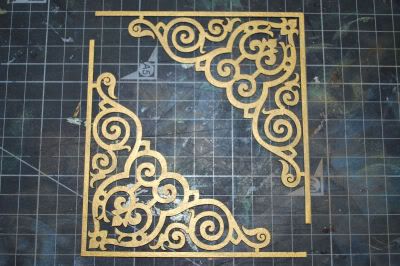
Step Two: Apply a coat of the crackle medium and allow to dry to a 'tacky to touch' finish.
Step Three: Apply top colour, using a dabbing technique, don't drag your brush. (I've used antique white.) You will see the paint start to crack straight away.
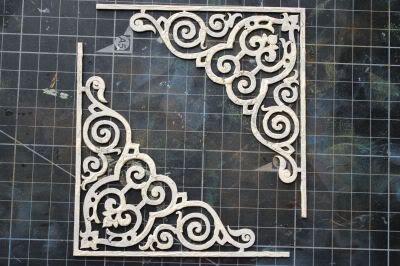
Step Four: Once dry, I have gone back with some stickles and metallic rub, to add some definition and colour to the chipboard.
Multi-stamped image:
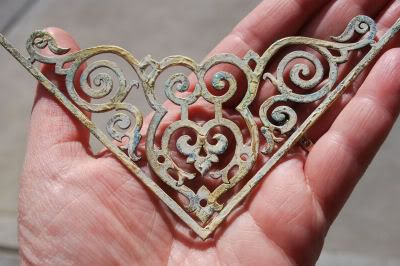
This finish works well with a dark base colour and 3-4 different coloured inks, metallic looks amazing.
Step One: Ink your chipboard piece, giving it a good coverage.
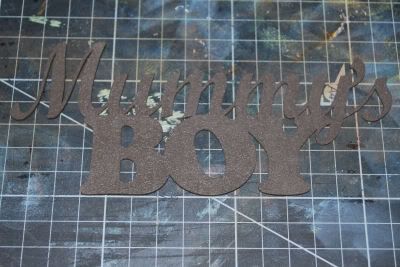
Step Two: Choose a stamp and start stamping with the different colour inks. You don't need to be too heavy handed, just try to balance the colours. Rub some gold around the edge of your chipboard and allow to dry.
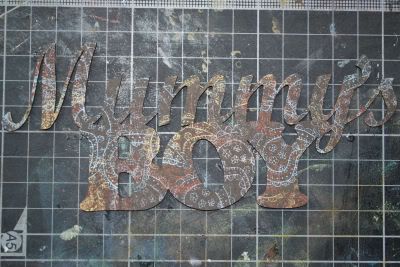
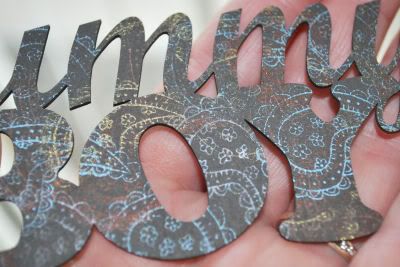
Step Three: Apply Glossy Accents or Dimensional Magic to the chipboard piece.
Add pearls to settle into the finish. Put aside to dry for a few hours

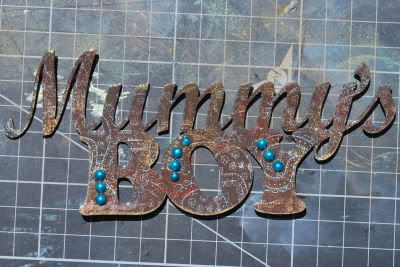
The drying time is the longest part of these techniques. :)
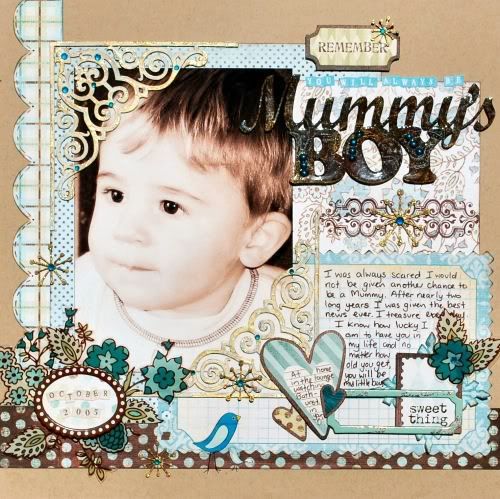
Here is my finished page.
I have used Moroccan Corners, Mummy's Boy title and Funky Snowflakes
Mummy's Boy
