''Amazing Beauty''

Hello 2Crafty fans!!
Mary here with you all today to share my November inspiration.
This time, I made a layout and an altered notebook cover with two video tutorials.
My first project is a layout which was made with lots of flowers combined
with some beautiful chipboard pieces.
with some beautiful chipboard pieces.
I have also made a VIDEO TUTORIAL with the procedure.
TO VIEW VIDEO CLICK HERE
2Crafty Chipboards used...
Flourish 2
Autumn Leaves
Mini Word Set 1
Autumn Leaves
Mini Word Set 1

Here are some close ups...

First, I made a mixed media background with modeling paste and a stencil and made
some random stamping. Then, I added color with the ''Bayou Boogie Gold'', the
''Golden Doubloons'' and the ''Whale Watch Blue'' Lindy's Gang sprays.

While waiting everything to dry, I heat embossed the ''Autumn Leaves'' and the title word ''Amazing'' from the ''Mini Word Set 1'' with the ''Bratwurst Brown'' Lindy's embossing powder.

The ''Flourish 2'' chipboard and the word title ''Beauty'' from the ''Mini Word Set 1''
were also embossed with the ''Cosmic Blue Violet'' powder.

Finally, I added some copper micro beads and glass glitter and made
some splatters with white acrylic artist ink.

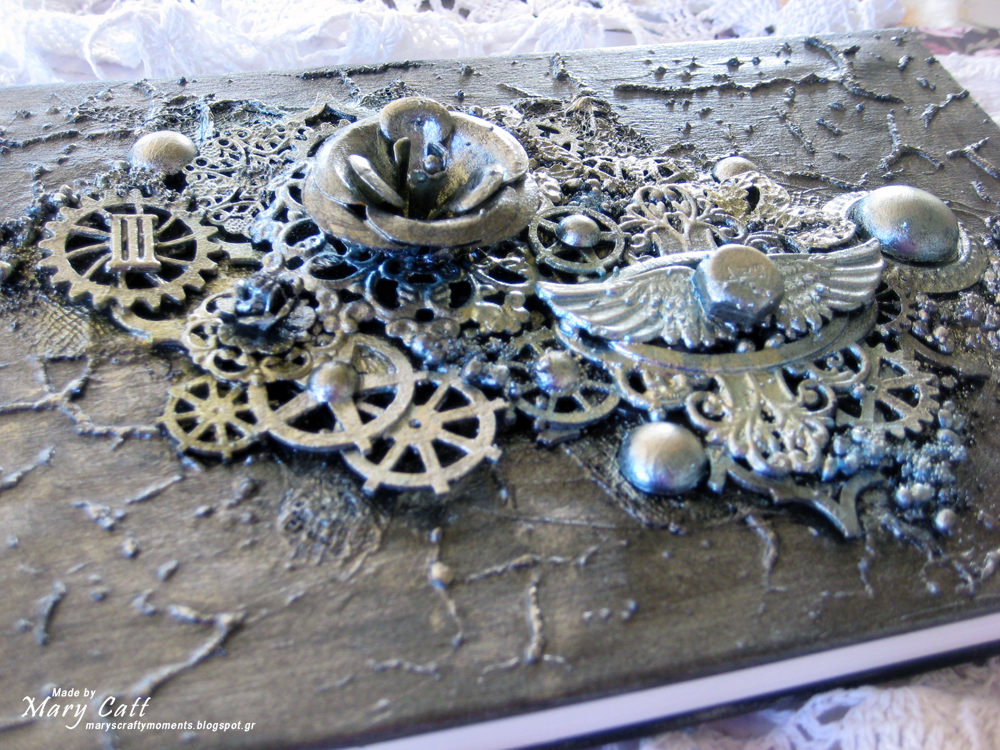
''Altered Notebook Cover''

My second project is an altered notebook cover created with lots of chipboards
along with some metal embellishments, art pebbles and art stones.
You can see the procedure on my VIDEO...
along with some metal embellishments, art pebbles and art stones.
You can see the procedure on my VIDEO...
TO VIEW VIDEO CLICK HERE
2Crafty Chipboards used...
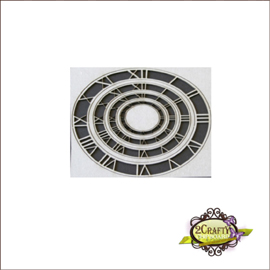
Moroccan Panel
Steampunk Gears Small
Steampunk Gears Medium
Steampunk Gears Small
Steampunk Gears Medium

And a closer look at the details...

I started by applying a coat of black gesso on my cover. Then, I created texture with
graphite texture paste and a stencil. When dried, I applied a second layer of black gesso.

The next step was to cover all the chipboards and embellishments with black gesso.
When they dried, I glued everything down.


And then was the fun part... painting the cluster with sparks acrylic paints. I used the
Raven Black, the Unicorn's Hair, the Dragon's Eye & the Magical Pond paints.
Well, that was all for today...
I hope I gave you some inspiration!