Hello everyone and welcome to the 2Crafty Blog. So glad you could drop by.
It's Margaret here to share my projects for May. This month I have created two cards
and a cover for a small Journal I am working on.
FEMININE CARD

The papers used are from Megs Garden's Forgotten Meadows Book Kit.
2Crafty Chipboard used
 Card Word Circles - Happy Birthday
 Foliage Set 1
 Decorative Rod Set 2
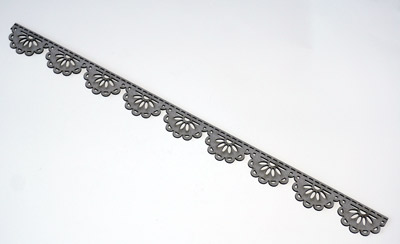
 Stitched Lace Border
 Pretty Flowers
All the chippies were treated in the same manner. Firstly painted with
white acrylic paint and then lightly daubed or swiped with orange.

I had already used a small piece from one of the lengths of the Decorative Rod Set 2 on a previous 2Crafty project (HERE) so I simply cut out the centre section from the leftovers and inserted it between the paper layers.
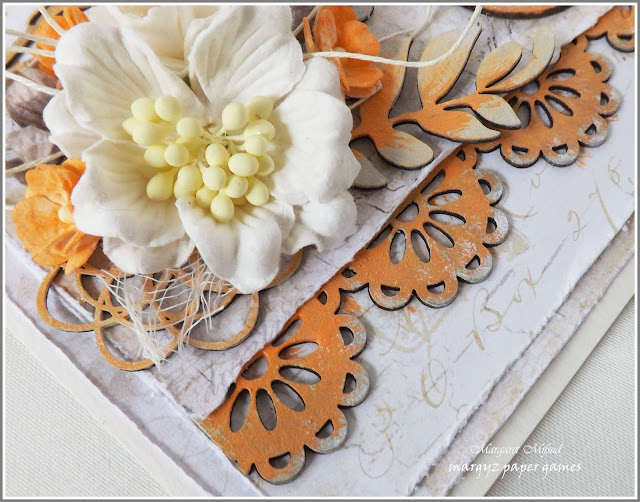
I also cut a piece from the Stitched Lace Border and inserted that between the layers at the bottom of the card. I really love these decorative strips. You can easily colour them to match your project and they are a great alternative to lace or ribbon. I think they look fabulous.
You can just see one of the Pretty Flowers peeking out from underneath the cluster.

I started painting these leaves from the Foliage Set from the middle outwards and decided I really liked the graduated shading and so I left them that way.
The Card Word Circles are such a great way to add your greeting. Again, it is so easy to colour them to suit your project and adding a touch of glitter, as I have done here, makes them look really special.

JOURNAL COVER
It's Margaret here to share my projects for May. This month I have created two cards
and a cover for a small Journal I am working on.
FEMININE CARD

The papers used are from Megs Garden's Forgotten Meadows Book Kit.
2Crafty Chipboard used


All the chippies were treated in the same manner. Firstly painted with
white acrylic paint and then lightly daubed or swiped with orange.

I had already used a small piece from one of the lengths of the Decorative Rod Set 2 on a previous 2Crafty project (HERE) so I simply cut out the centre section from the leftovers and inserted it between the paper layers.

I also cut a piece from the Stitched Lace Border and inserted that between the layers at the bottom of the card. I really love these decorative strips. You can easily colour them to match your project and they are a great alternative to lace or ribbon. I think they look fabulous.
You can just see one of the Pretty Flowers peeking out from underneath the cluster.

I started painting these leaves from the Foliage Set from the middle outwards and decided I really liked the graduated shading and so I left them that way.
The Card Word Circles are such a great way to add your greeting. Again, it is so easy to colour them to suit your project and adding a touch of glitter, as I have done here, makes them look really special.

JOURNAL COVER

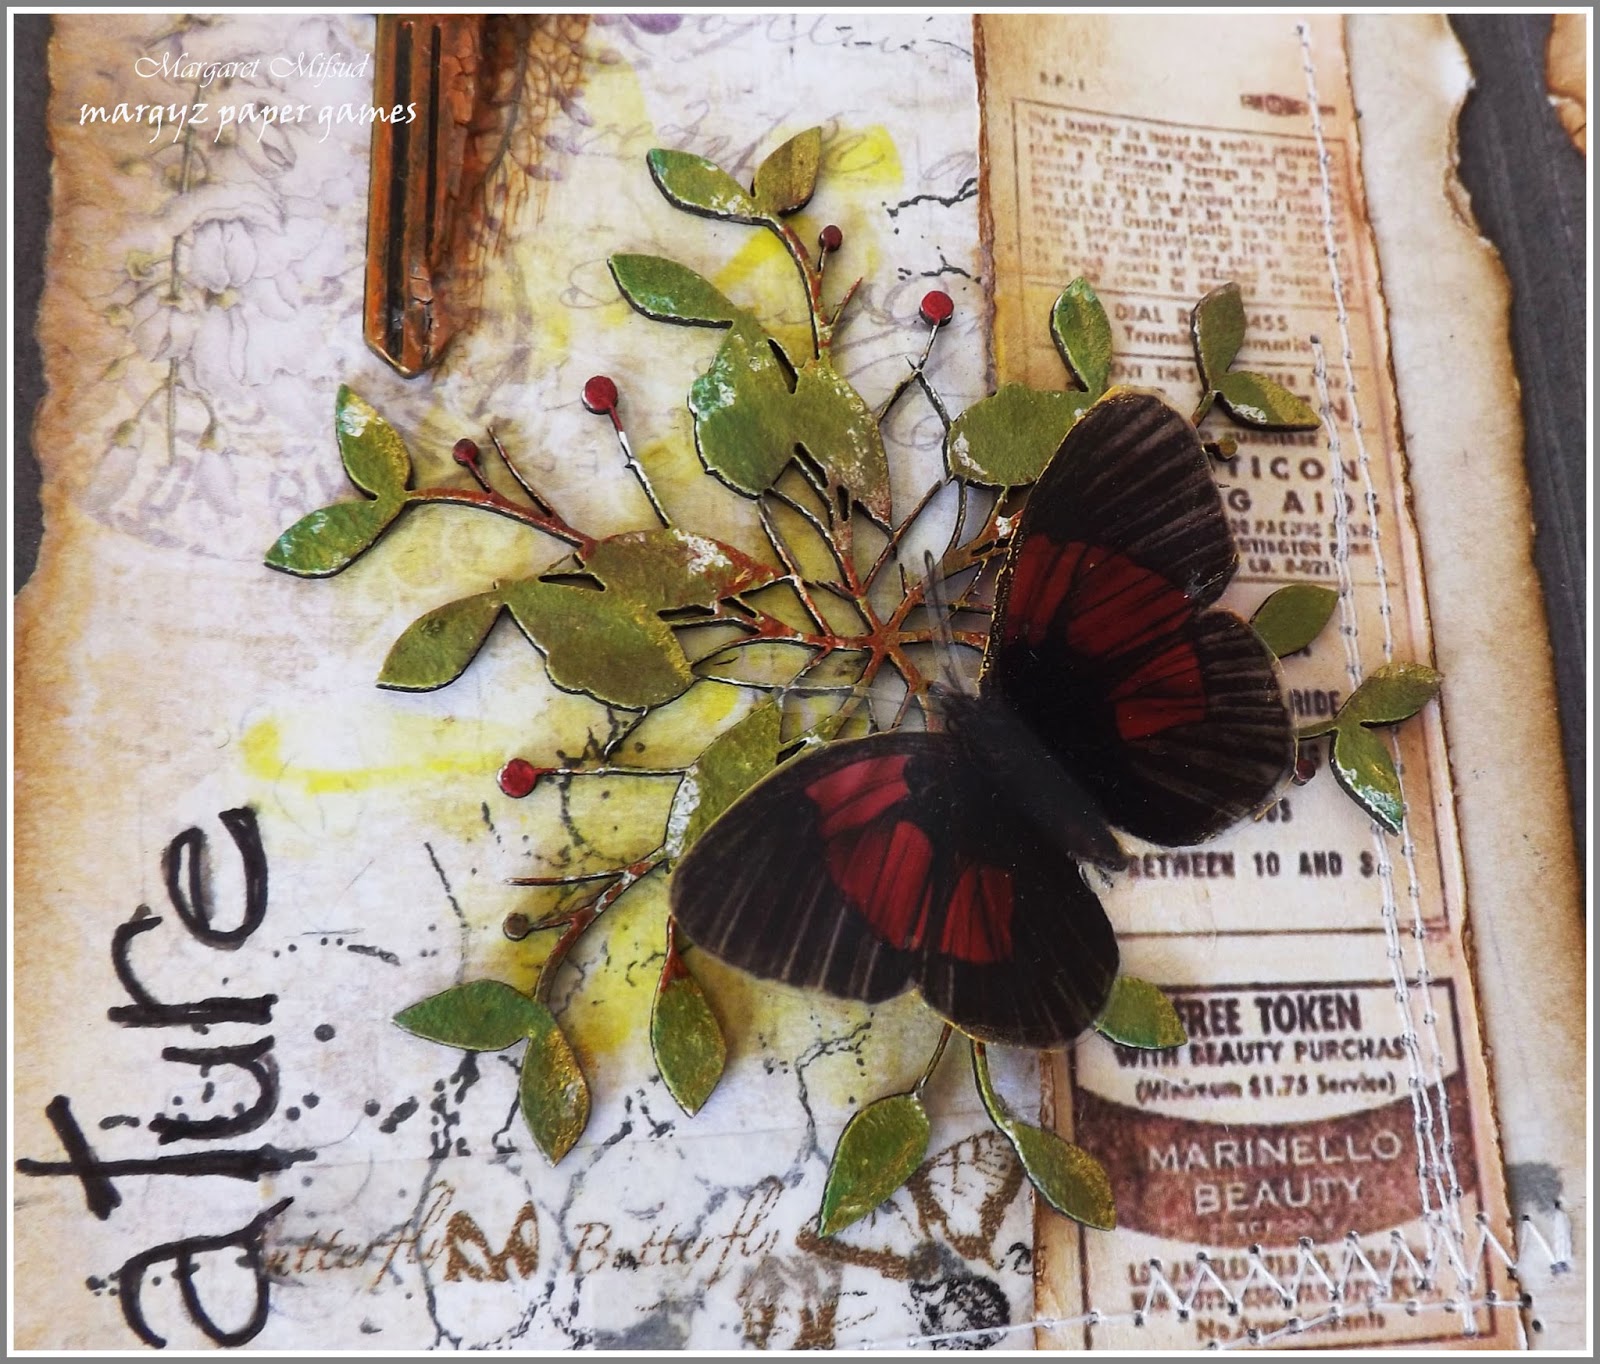
The papers are from Megs Garden's Forgotten Meadows Book Kit.
Used some paste through a stencil and added a little texture.
2Crafty Chipboard used

Stitched Lace Border

Tiny Leaf Stems
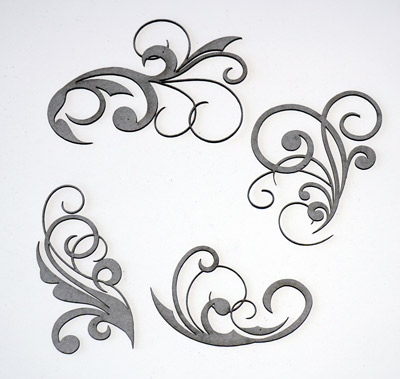
Mini Flourish Pieces

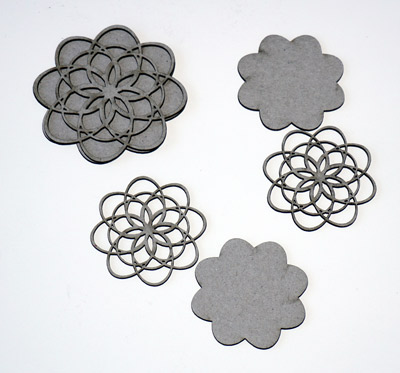
Leafy Rounds
All the chippies were first coated with gesso and then the Tiny Leaf Stems were painted with a deep green acrylic paint and daubed with 'Peeled Paint' paint dauber. I also rubbed the edges lightly with a gold stamp pad but, unfortunately, that doesn't show up in the photos.

The Stitched Lace Border and the Mini Flourish were coloured with 'Burnt Sienna' acrylic paint and then covered with Crackle Accents. Once they were dry, I rubbed over them with 'Gathered Twigs' Distress Ink to accentuate the cracks.

Here is a sneak peek of the inside of the Journal showing the Leafy Round. This was also coated in gesso and then daubed with 'Peeled Paint' and 'burnt Sienna' acrylic paint. The tiny berries were coloured in bright red paint so they would stand out. This is one of my favourite chippies, it is so delicate and unusual and looks fabulous on any project,

A CARD FOR OFF THE RAILS
2Crafty Chipboard is a major sponsor at Off the Rails for the month of
May and I was thrilled to be one of the Guest Designers.
Here is the mood board..
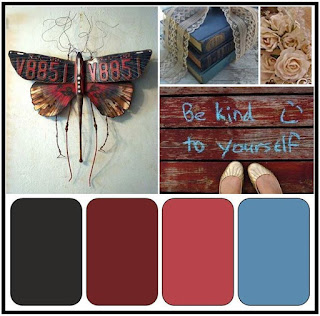
... and this is the card I created.
May and I was thrilled to be one of the Guest Designers.
Here is the mood board..
... and this is the card I created.

The papers are from Kaisercraft's Base Coat Mini Pad.
2Crafty Chipboard used
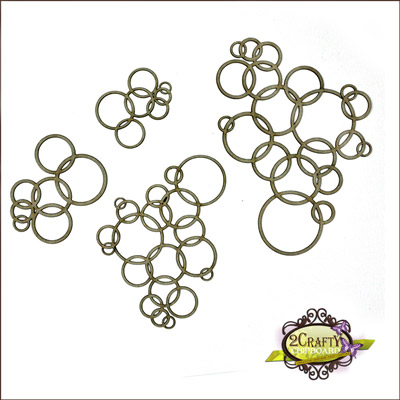
Bubble Clumps
 Numbers Panels


Hessian Patch Panel

Mini Word Set

The Bubble Clump was painted with a navy Blue acrylic paint and then inserted
between the paper layers.
between the paper layers.

The Hessian Panel was simply swiped with a VersaMagic stamp pad in Midnight Black. I really adore this chippy. I love using it as a background for a flower cluster or, in this case, as the base for the Numbers Panel.

The Numbers Panel was first swiped with Versacolor stamp pads in black, red and light blue and then it was coated with Viva Clear Crackle paint. I'm afraid I got a bit impatient here and decided to dry it with a heat gun. Got a little too close in a couple of spots and ended up with a few bubbles but, overall, I love the effect. Very different from how it looks when left to dry naturally. After it was dry, and cooled off, I swiped it over again with the same stamp pads just to deepen the colour.

I usually decorate the inside of my cards with some strips of paper and, this time,
I also added one of the words from the Mini Word Set.
I also added one of the words from the Mini Word Set.

It was coloured with VersaMagic Midnight Black and coated with Glossy Accents.

Once everything was glued down and dry, I randomly splattered some gesso around the card.
This is becoming one of my signature techniques for masculine cards. Seems I do it
on just about every one now. LOL!!
This is becoming one of my signature techniques for masculine cards. Seems I do it
on just about every one now. LOL!!
Thank you for visiting here today and I hope you have enjoyed my May projects as much as I have enjoyed presenting them to you. I hope you have been inspired to add some 2Crafty goodies to your own creations.


